
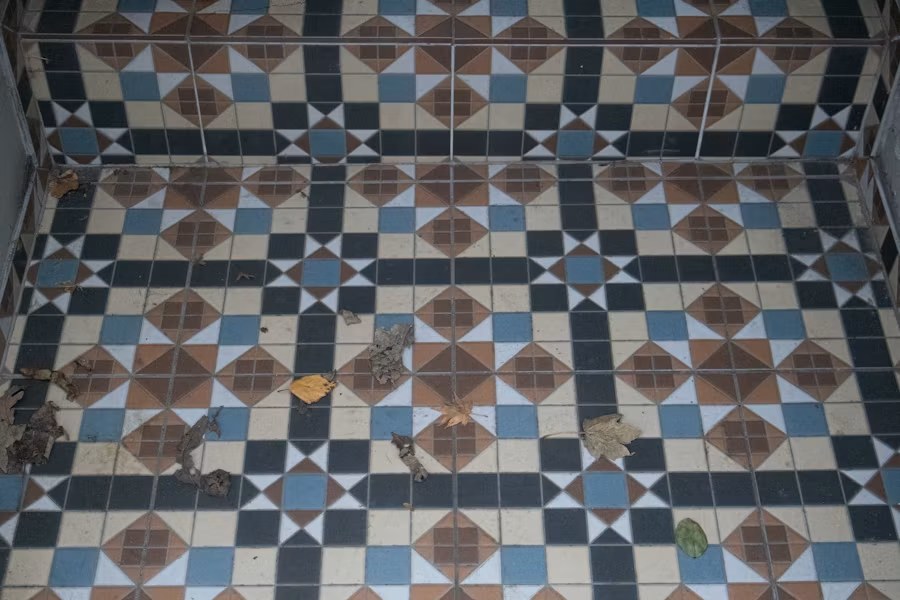
Accurate tile measurements help you order enough material, reduce unnecessary waste, and keep installation moving without interruptions. The same basic method works for floors, walls, backsplashes, and shower surrounds, but openings, patterns, and tile dimensions can change the final quantity.
Why Accurate Tile Calculations Matter
Ordering too little tile can stop the project while you wait for more material. A later order may also come from a different production batch, which can create subtle changes in colour or finish. Ordering far too much ties up the budget and leaves you with material you may never use.
A reliable calculation should account for:
- the total surface area
- doors, windows, cabinets, and other openings
- the coverage of each tile or sheet
- the layout and the number of cuts it requires; and
- extra material for breakage, mistakes, and future repairs.
Step 1: Measure the Surface
Rectangular floors and walls
Measure the length and width of the area in the same unit. Multiply the two measurements to find the surface area:
Length × Width = Surface Area
For example, an area that measures 10 feet by 8 feet has 80 square feet of surface area.
Irregular rooms
Divide an irregular floor or wall into smaller rectangles. Calculate each section separately, then add the results:
Section A + Section B + Section C = Total Surface Area
Sketching the space on graph paper can help you label every section and avoid counting an area twice.
Backsplashes and shower walls
Measure each wall or backsplash section separately. Add the sections together before subtracting areas that will not receive tile.
For a shower, record the width and height of every wall. Include niches, curbs, benches, and returns as separate surfaces rather than estimating them as part of the main wall.
Step 2: Subtract Openings
Measure doors, windows, large cabinets, or other surfaces that will not be tiled. Calculate their area and subtract it from the gross measurement:
Gross Surface Area − Openings = Net Tile Area
Small outlets and plumbing penetrations usually create cuts rather than meaningful reductions in material. Record them on the layout, but do not automatically subtract every small opening.
Step 3: Calculate Coverage per Tile
Tile dimensions determine how many pieces are needed. A 12-by-12-inch tile covers one square foot before grout joints and cuts are considered. Smaller tiles require more pieces for the same area, while mosaics are usually purchased by sheet coverage.
Use this formula for individual tiles:
Net Tile Area ÷ Coverage per Tile = Base Tile Quantity
When the product is sold by the box, divide the net tile area by the coverage printed on the box. Round up to the next full box; partial boxes may not be available.
Step 4: Add an Allowance for Waste
Cuts, damaged pieces, pattern matching, and future repairs all require extra tile. Use the allowance that matches the layout rather than applying the same number to every project.
| Layout | Suggested waste allowance |
|---|---|
| Straight, simple layout | 10% |
| Diagonal or intricate pattern | 15% |
The final calculation is:
Net Tile Area + Waste Allowance = Order Quantity
Complex patterns, unusually shaped rooms, large-format tile, fragile stone, and products with strong colour variation may need additional review before ordering.
Special Considerations by Tile Area
Floor tile
Check whether tile will continue beneath appliances, vanities, or removable fixtures. Measure those areas if the layout requires a continuous finished floor. Confirm that the subfloor is suitable and flat before finalizing the order, because surface corrections can affect the installation plan.
Wall tile
Measure around windows, doors, niches, outlets, and plumbing fixtures. Plan the vertical layout so small slivers are not left at the ceiling, floor, or outside corners.
Mosaic sheets
Use the coverage stated for each sheet, not the dimensions of an individual mosaic piece. Curves, niches, and borders can increase the number of sheets required because offcuts are not always reusable.
Large-format and slab tile
Large pieces create fewer grout lines but require careful planning. Confirm how the pattern will continue across seams and allow for cuts around corners, fixtures, and openings.
Tools That Make Measuring Easier
- measuring tape or laser measure
- calculator
- graph paper or a simple floor-plan app
- pencil and masking tape for labelling sections
- product specifications showing tile or box coverage; and
- the proposed layout, including grout joints and focal points.
Final Tile-Order Checklist
Before placing the order, confirm that you have:
- measured every tiled surface
- used one consistent unit of measurement
- subtracted only meaningful openings
- checked coverage per tile, sheet, or box
- added the appropriate waste allowance
- considered the direction and pattern of the layout; and
- allowed spare material for future repairs.
Accurate quantities are only one part of a successful tile project. Surface preparation, layout, waterproofing where required, and precise installation all affect the finished result. For professional tile installation in Toronto, Richmond Hill, North York, Thornhill, Markham, or Vaughan, call GMC Construction at 647-450-4466.
Ready to turn this into a real project?
Take what you just read and connect it to our home renovation service — we’ll scope project type, location, timing and budget so you get an accurate quote.
Get a free estimate for your project
Tell us what you're planning and our team will get back to you within 24–48 hours. No obligation.