
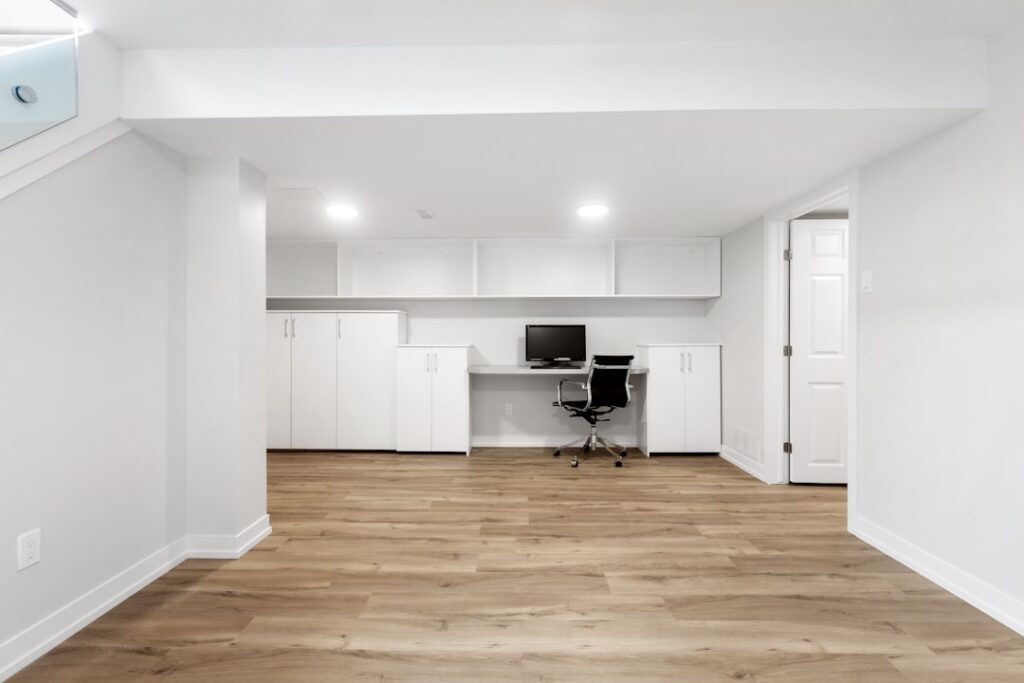
Electrical wiring is a crucial component of home construction and renovation. While it’s essential to hire a professional electrician for complex wiring tasks, some simpler electrical projects can be tackled safely by DIY enthusiasts. Installing fixtures and outlets is one such task that, when done correctly, can save you time and money. In this guide, we’ll walk you through how to safely install electrical outlets and light fixtures in your home, with expert advice from GMC Construction, your trusted local contractor in Richmond Hill and the Greater Toronto Area (GTA).
Why DIY Electrical Wiring?
Installing electrical fixtures and outlets can seem daunting, but with the right knowledge and tools, it’s a manageable task for most homeowners. DIY electrical wiring is often chosen for the following reasons:
- Cost Savings: Hiring a professional electrician can be expensive, and by handling the installation yourself, you can save on labor costs.
- Project Flexibility: If you’re remodeling or renovating, doing your own wiring allows you to have more control over the timing of your project.
- Learning Opportunity: For homeowners interested in learning more about electrical work, installing fixtures and outlets can be an educational experience.
However, safety is paramount when working with electricity. If at any point you feel uncertain, it’s best to call in a professional electrician or a general contractor like GMC Construction to ensure the job is done correctly.
Tools and Materials You Will Need
Before you begin, make sure you have the right tools and materials for the job. Below are the essential items you’ll need for electrical wiring installations:
Tools:
- Voltage Tester: To ensure power is off before working with electrical components.
- Wire Strippers: For safely removing insulation from wires.
- Screwdriver: For installing outlets and light fixture mounting brackets.
- Drill: For creating holes in the wall, if necessary.
- Needle-Nose Pliers: Useful for bending wires and making tight connections.
- Electrical Tape: For securing and insulating electrical connections.
- Fish Tape: To pull wires through walls or conduits.
- Wire Nuts: To safely join wires together.
- Measuring Tape: To ensure precise placement of outlets and fixtures.
Materials:
- Electrical Boxes: For housing your outlets or light switches.
- Electrical Wires: Typically, you’ll need either 12-gauge or 14-gauge wire, depending on your circuit’s amperage.
- Outlets and Switches: Standard or GFCI outlets (depending on the area).
- Light Fixtures: Choose a fixture that fits your desired space.
- Mounting Brackets and Screws: For securing light fixtures.
Step-by-Step Guide for Installing Outlets and Fixtures
Step 1: Turn Off the Power
Before starting any electrical work, cut off the power at your breaker panel to avoid any electrical accidents. Double-check with a voltage tester to confirm the power is off at the fixture or outlet location.
Tip: It’s essential to be extra cautious when working with electricity. Never skip this step, as live wires can be extremely dangerous.
Step 2: Plan Your Installations
Decide where you want to install your electrical outlets or light fixtures. When installing outlets, ensure they are placed according to local building codes and electrical regulations. For light fixtures, plan the exact location, ensuring it is safe and provides proper illumination.
- Outlets: Standard outlets should be installed about 12-16 inches above the floor, depending on your local codes.
- Light Fixtures: Install fixtures about 4-6 inches below the ceiling, or adjust according to the size of the room and the type of fixture.
Tip: If you’re unsure about placement or electrical codes, consult a local contractor in Richmond Hill or the GTA, like GMC Construction, for guidance.
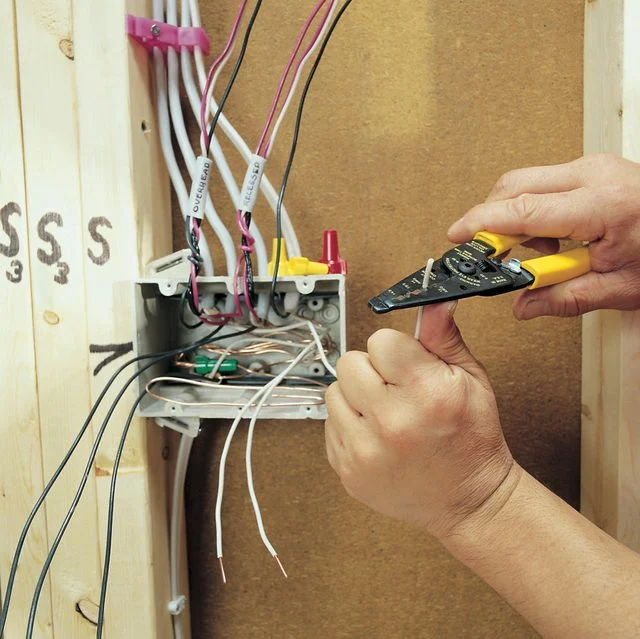
Step 3: Install the Electrical Box
If you’re adding a new outlet or light fixture, you will need to install an electrical box to house the wiring and fixtures. For outlets, these boxes are typically mounted within the wall. Use a drywall saw to cut the opening for the box, and ensure it is level.
- For a new outlet, attach the box to the wall framing with screws.
- For light fixtures, secure the box to the ceiling joist or the wall stud using screws.
Tip: Make sure the electrical box is securely mounted, as it will support the weight of the outlet or fixture.
Step 4: Run the Electrical Wiring
Run your electrical wires to the outlet or light fixture location. Use fish tape to guide the wire through walls and ceilings. Be careful not to damage the wires as you pull them through.
- For Outlets: Strip back about 3/4 inch of insulation from the ends of each wire using wire strippers.
- For Light Fixtures: Follow the manufacturer’s instructions for wiring, which typically involves connecting the fixture’s wires to the house wiring.
Tip: Use a voltage tester to double-check the wires before connecting them.
Step 5: Connect the Wires
Now it’s time to connect the wires to the outlet or light fixture. For a typical outlet:
- Black wire (hot): Connect this wire to the gold screw.
- White wire (neutral): Connect this wire to the silver screw.
- Ground wire (green or bare): Connect this wire to the green screw.
For light fixtures, follow the same color-coding conventions for wire connections.
- Connect the black wire (hot) to the fixture’s black wire.
- Connect the white wire (neutral) to the fixture’s white wire.
- Connect the ground wire to the fixture’s ground screw or grounding wire.
Use wire nuts to secure the connections, then wrap them in electrical tape for added security.
Tip: Always make sure the connections are tight and secure. Loose connections can lead to sparks or a potential fire hazard.
Step 6: Mount the Outlet or Light Fixture
Once the wiring is complete, mount the outlet or light fixture in place. For outlets, screw the outlet into the electrical box and attach the cover plate. For light fixtures, secure the fixture to the ceiling or wall with screws.
Make sure everything is aligned properly before securing it completely.
Tip: If you’re installing a light fixture, ensure that the fixture’s wires are securely connected and the fixture is mounted safely to prevent it from falling.
Step 7: Test Your Work
Once everything is installed, it’s time to turn the power back on at the breaker panel. Test the outlet with a plug or use a voltage tester to ensure it’s working correctly. For light fixtures, flip the light switch to ensure the fixture powers up.
When to Call a Professional Contractor
While some electrical projects are safe for DIYers, it’s essential to recognize when it’s time to call a licensed electrician or general contractor. If you are installing outlets in a kitchen or bathroom (which require GFCI outlets) or if you encounter any complex issues with the wiring, it’s safer to have a professional handle the job.
At GMC Construction, our general contractors are trained to perform electrical work safely and in compliance with local building codes. If you need help with electrical wiring, light fixture installation, or any other renovation projects in Richmond Hill or the Greater Toronto Area, feel free to contact us.
Conclusion
Installing outlets and light fixtures can be a rewarding DIY project when done correctly. By following these simple steps and prioritizing safety, you can improve the electrical functionality of your home. If you’re unsure or uncomfortable with DIY electrical work, don’t hesitate to call a trusted general contractor in Richmond Hill, like GMC Construction. We’re here to help with all your home renovation and electrical needs.
Related Keywords Used:
- DIY electrical wiring
- Outlets and fixtures
- Electrical box installation
- GMC Construction
- Richmond Hill contractor
- Electrical wiring safety
- Local contractor
- Electrical work in GTA

Looking to get a quote on your next home renovation project?
Call us todat at 6474504466 to start a free consultation
✓ Trusted quality
✓ professionalism
✓ Strong Reputation
Experience excellence with Toronto’s top general contractor for quality and professionalism .


Looking to get a quote on your next home renovation project?
Call us todat at 6474504466 to start a free consultation
Get in touch
We’re here to answer your questions.
Have a Questions? Call us:
+16474504466
Or Email us at:
info@gmco.ca
Canada
75 Oneida Crescent , Richmond Hill
ON, L4B 0H3
Looking to get a quote?
Latest Posts
The latest stories, exclusive insights, and special offers.

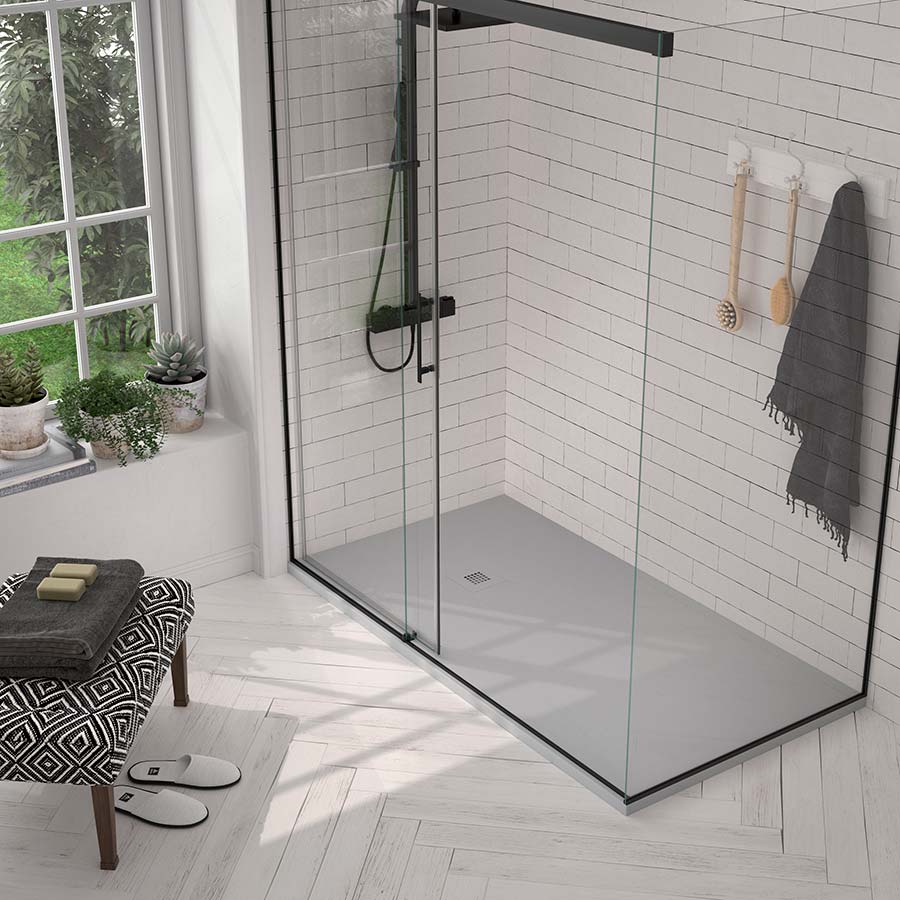
The Complete Guide to Shower Pans: Types, Installation, and Maintenance Tips

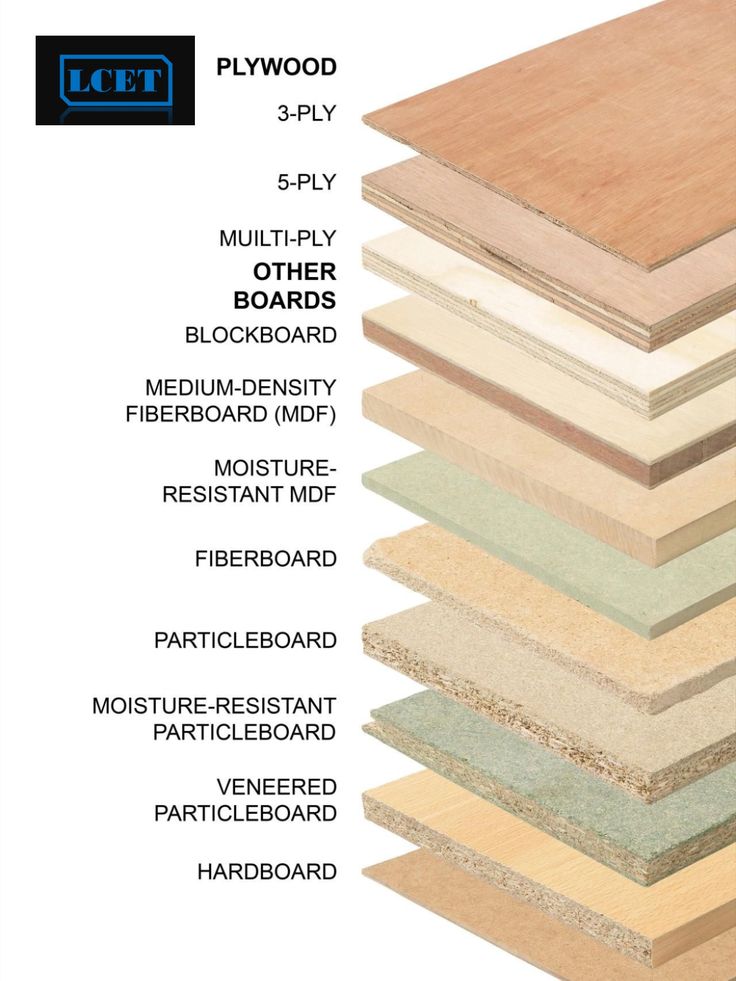
The Ultimate Guide 2025 to Different Types of Plywood: Uses, Benefits, and Choosing the Right One

The Ultimate Guide to Epoxy Flooring: Benefits, Applications, and Installation

The Ultimate Guide to Level 5 Plastering: What You Need to Know