
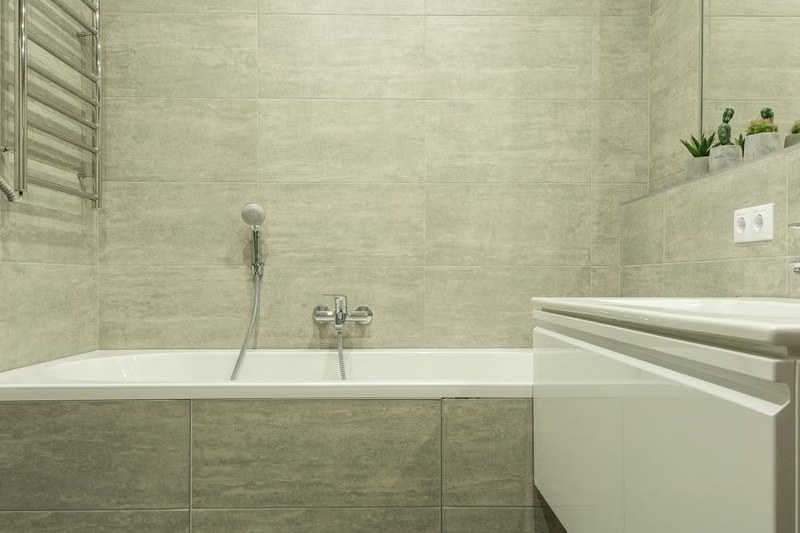
Fresh caulk creates a flexible seal where a tub, shower base, tile wall, glass frame, or plumbing fixture meets another surface. When that seal splits or pulls away, water can enter the joint and damage finishes or concealed materials. Caulking is a manageable maintenance job when the surrounding surfaces are sound and the gap is appropriate for sealant. It is not a repair for loose tile, failed waterproofing, a moving shower base, active leakage behind the wall, or rot. Resolve those conditions before applying a new bead.
Choose the Right Bathroom Sealant
Read the product label rather than relying on the word “caulk.” The sealant must be approved for the surfaces, joint, and wet exposure involved.
| Material | Best use | Advantages | Limitations | Relative cost |
|---|---|---|---|---|
| Bathroom-rated 100% silicone | Tub rims, shower bases, inside shower changes of plane, glass frames, and other joints exposed to frequent water | Waterproof, flexible, resistant to shrinking and cracking, available in clear and colours | Not normally paintable; requires careful surface preparation and tooling; cured residue is harder to remove | Moderate |
| Bathroom-rated siliconized acrylic or acrylic-latex sealant | Lower-movement bathroom joints when the specific product is approved for tub or shower use | Easier to apply and clean up; some products are paintable | Product performance varies; general-purpose acrylic caulk may not be approved for a shower; usually less flexible than 100% silicone | Low to moderate |
| Colour-matched silicone from a grout system | Tiled changes of plane and perimeter joints where a coordinated colour is wanted | Flexible joint with a closer visual match to grout | Must still be rated for the location; colour and sheen may not be identical to cured grout | Moderate |
General-purpose painter’s acrylic is for trim and paint joints, not continuous shower exposure. If the product data does not specifically allow a tub or shower application, choose a different sealant.
Gather the Tools and Materials
You will typically need:
- the selected bathroom sealant;
- a caulk gun if the product is in a cartridge;
- a sharp utility knife or caulk-removal tool;
- a plastic scraper suitable for the tub, tile, or shower-base finish;
- a vacuum and clean, lint-free cloths;
- a compatible residue remover or rubbing alcohol, if allowed by the surface and sealant manufacturers;
- painter’s tape for a controlled bead;
- a caulk-finishing tool; and
- gloves and eye protection.
Test cleaners and scrapers in an inconspicuous area. Aggressive blades, abrasive pads, or strong solvents can scratch acrylic tubs, damage coated glass, discolour stone, or soften some plastics.
Remove All of the Old Caulk
Cut along both edges of the old bead and pull it away in sections. Keep the blade nearly parallel to the surface and use light pressure. A plastic scraper is safer than a metal blade on many tubs and shower bases. Remove the visible bead and the thin residue underneath it. New silicone will not form a reliable bond over old silicone, soap film, body oils, or cleaning-product residue. Vacuum loose debris so it does not spread back into the joint. If the old caulk is mouldy, determine whether staining is only on the sealant or extends into the wall, backer, framing, or adjacent finish. Repeated mould, a soft wall, swelling, a persistent odour, or moisture appearing outside the shower can indicate a larger water-management problem.
Clean and Dry the Joint
Wash away soap scum and grime using a cleaner compatible with both surfaces. Rinse as required, then allow the joint to dry fully. Residual water behind the tub edge or in a deep corner can prevent adhesion even when the exposed face looks dry. Use the sealant manufacturer’s recommended final cleaning method. If rubbing alcohol is compatible, apply it to a cloth rather than flooding the gap, then allow it to evaporate. Do not leave bleach, detergent, solvent, or dust in the joint. Movement must also be corrected before sealing. Tighten a loose shower frame, repair unsupported tile, and investigate a tub or shower base that flexes excessively. Caulk is designed to accommodate normal joint movement, not hold the assembly together.
Prepare the Joint and Cartridge
Apply painter’s tape on both sides of the joint if you want a consistent edge. Set the tape to the intended finished bead width rather than directly against an uneven gap. Cut the nozzle at a small angle, starting with an opening slightly narrower than the joint. Puncture the cartridge seal if required. A smaller opening provides more control; it can always be enlarged. For a tub that changes position noticeably when filled, follow the tub or sealant manufacturer’s instructions about loading it before caulking. This is not a universal step for every fixture.
Apply a Continuous Bead
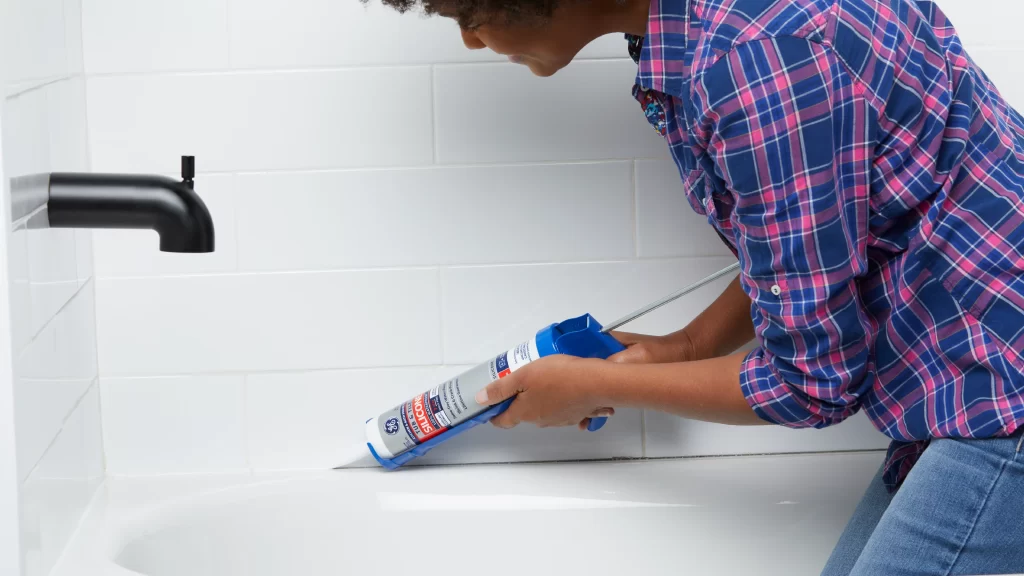
Hold the nozzle so the sealant is pressed into both sides of the joint. Move at a steady pace while maintaining even pressure on the gun. The aim is a continuous bead with full contact—not a decorative skin stretched over an empty gap. Work in manageable sections. Stop and restart at a natural corner where possible. If the bead repeatedly sinks into a very deep or wide opening, the joint may need an approved backer material or a construction repair rather than more surface sealant. At tiled inside corners, remove failed grout before sealing. A flexible sealant belongs at changes of plane because walls, floors, tubs, and shower bases can move differently. Applying silicone over cracked grout leaves the movement problem in place and often creates a bulky, short-lived repair.
Tool the Bead and Remove the Tape
Tool the sealant within the product’s stated working time. Use one smooth pass to press it against both joint faces and create a slightly concave surface that sheds water. Avoid repeated wiping, which can pull material out of the joint or spread a thin film across the tile. If tape was used, remove it before the sealant skins over. Pull it away from the joint at an angle. Tool only a minimal touch-up after tape removal. Do not use a wet finger unless the product instructions allow it. Water, soap solution, or tooling agents can interfere with adhesion or curing for some sealants. A clean finishing tool gives more consistent control.
Let the Sealant Cure
Follow the exact water-ready and full-cure times on the cartridge. Products vary widely, and temperature, humidity, bead size, and joint depth affect curing. Do not use the tub or shower early simply because the outside of the bead feels dry. Keep the joint clean and undisturbed during curing. If a gap, bubble, or missed area is found immediately, correct it within the product’s working window. After cure, the reliable repair is usually to remove the defective section, prepare the surfaces again, and recaulk rather than smearing a second layer on top.
Common Caulking Mistakes
- caulking over mould, soap scum, dampness, or old silicone residue;
- choosing a paint-and-trim acrylic that is not approved for shower use;
- cutting the nozzle too large and flooding the joint;
- applying a surface ribbon without bonding to both sides;
- using caulk to cover failed grout, loose tile, or a leaking waterproofing assembly;
- tooling too late or repeatedly wiping the bead;
- using the shower before the stated cure period; and
- puncturing or peeling sound caulk during aggressive cleaning.
When to Call a Bathroom Contractor
Stop treating the joint as routine maintenance if water appears below the bathroom, wall finishes soften, tile moves, the shower base flexes, mould returns quickly, or the gap continues opening after replacement. Those symptoms can point to failed backing, drainage, framing, or waterproofing. For renovation work beyond a simple maintenance bead, GMC Construction can assess the assembly through its bathroom renovation services in Toronto and the GTA. If the wet-area membrane itself is in question, start with the guide to bathroom waterproofing systems.
Conclusion
A durable tub or shower caulk joint depends more on preparation than on squeezing a neat line from the tube. Remove the old material completely, clean and dry the surfaces, choose a sealant approved for the location, fill the joint continuously, and respect the cure time. If the surrounding assembly is moving or leaking, caulk is only a temporary disguise. Repair the underlying condition first, then seal the finished joint.