
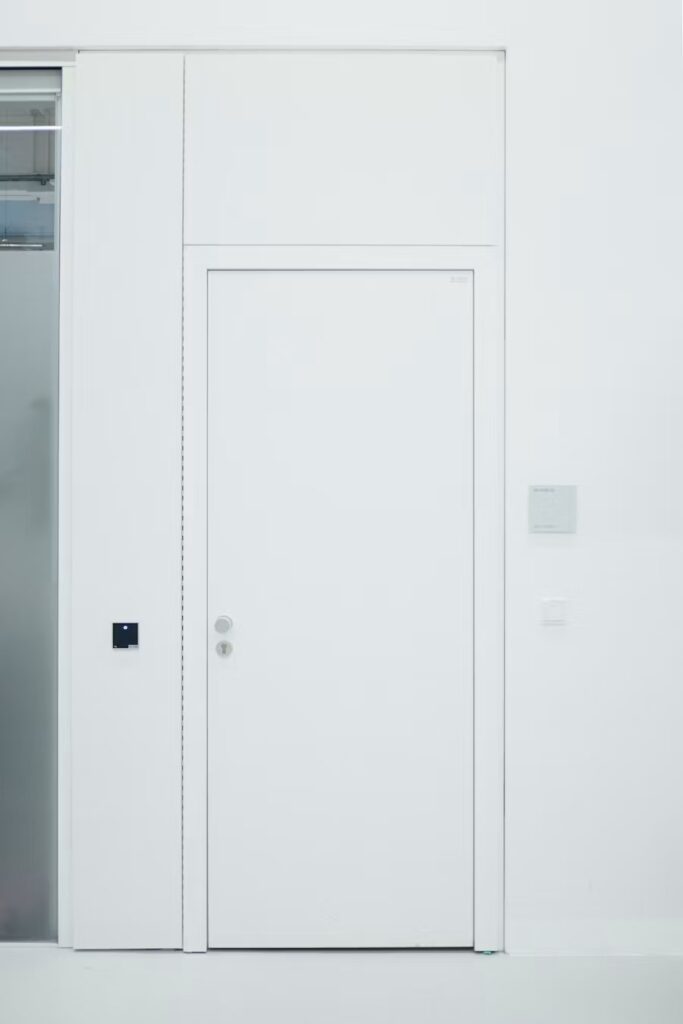
An interior door affects privacy, sound control, circulation, and the finish quality of the rooms on both sides of it. A successful installation is not simply a matter of fastening hinges to a slab. The opening must be measured correctly, the jamb must be set plumb and square, the door needs an even reveal, and the casing has to meet the baseboard and wall cleanly.
This guide explains the installation decisions Toronto and GTA homeowners should make before ordering a door, how casing and trim complete the opening, and when professional installation is the more reliable choice.
Start With the Right Kind of Door Project
The first decision is whether the existing frame can remain.
Slab replacement
A slab is the door panel only. Reusing the jamb can work when the frame is straight, firmly attached, and free of damage. The new slab must be sized and machined so its hinges and latch align with the existing jamb. This option can preserve surrounding trim, but it is not automatically the easiest installation; fitting a slab to an imperfect older opening requires careful scribing and planing.
Prehung door
A prehung unit includes the slab, hinges, and jamb as an assembled system. It is usually the better choice when the old jamb is twisted, split, poorly sized, or being removed as part of a larger renovation. The rough opening still has to be checked, shimmed, and fastened correctly. A prehung unit does not compensate for a floor or wall that is out of level.
Specialty configurations
French doors, bifold doors, pocket doors, and barn doors each solve a different problem:
- French doors create a wide visual opening but need accurate alignment at the meeting stiles.
- Bifold doors suit closets where a full swing would obstruct circulation, but their top track and pivots need solid support.
- Pocket doors save floor area and disappear into the wall, but installation may require opening the wall, relocating wiring, and confirming that the partition can accept the pocket frame.
- Barn doors are surface-mounted and visually distinctive, but the gaps around the slab provide less sound and privacy control than a conventional door.
Measure the Opening Before Ordering
Measure the existing slab, jamb thickness, rough opening, wall thickness, and finished-floor clearance. Also record the door swing and handing. A door that opens in the wrong direction can collide with a fixture, block a switch, or narrow a hallway.
In an older GTA home, take measurements at several points. Framing may have moved, plaster may be thicker than modern drywall, and floors may slope. Confirm:
- whether the rough opening is wide and tall enough for the proposed unit;
- whether the hinge-side framing can hold fasteners;
- whether the wall is plumb and the head is level;
- whether new flooring will change the undercut;
- whether the casing is wide enough to cover the gap between jamb and wall; and
- whether adjacent baseboards, crown details, or built-ins affect the trim layout.
Do not order from the nominal door size alone. The installer needs the manufacturer’s actual unit dimensions and required installation clearance.
Choose the Door for Privacy, Durability, and Use
Hollow-core doors
Hollow-core slabs are light and easy to operate. They can be suitable for closets and lower-priority rooms, but they provide limited impact resistance and sound control.
Solid-core doors
Solid-core doors feel more substantial and generally reduce sound transfer better than hollow-core doors. Their weight makes hinge placement, jamb fastening, and framing support more important. They are often selected for bedrooms, bathrooms, offices, and media rooms.
Panel and glass doors
Panel doors can suit both traditional and contemporary interiors depending on the rail-and-stile pattern. Clear or reeded glass can bring daylight into a hall or office, but privacy and safety glazing requirements should be considered for the location.
Moisture-prone rooms
Bathroom and laundry-room doors need adequate finish protection and clearance for ventilation. Persistent humidity should be corrected rather than treated as a door problem; an unsealed edge or damp jamb can swell and bind.
How an Interior Door Is Installed
Prepare the opening
The old slab, casing, and jamb are removed only as far as the selected scope requires. Exposed framing is checked for loose fasteners, rot, previous water damage, or an opening that is badly out of square. Any underlying problem is corrected before the new finish work hides it.
Set the jamb
For a prehung door, the hinge jamb is positioned first and shimmed plumb. Shims belong at structural fastening points—especially behind hinges and near the latch—not randomly in the gap. The head and latch jamb are then adjusted until the reveals are consistent and the slab stays where it is placed instead of swinging by itself.
Fit the slab and hardware
For a slab replacement, hinge gains and the latch bore must match the hardware precisely. The installer checks the top and side clearances, the floor undercut, latch engagement, and door stop contact. A bathroom privacy set, passage set, or closet hardware should operate without forcing the door against the jamb.
Insulate and close the gap where appropriate
Interior openings do not normally need the same weather sealing as exterior doors. Where sound control matters, gaps can be treated as part of a broader acoustic assembly, but excessive expanding foam can distort a jamb. The correct product and quantity depend on the opening.
Install and finish the casing
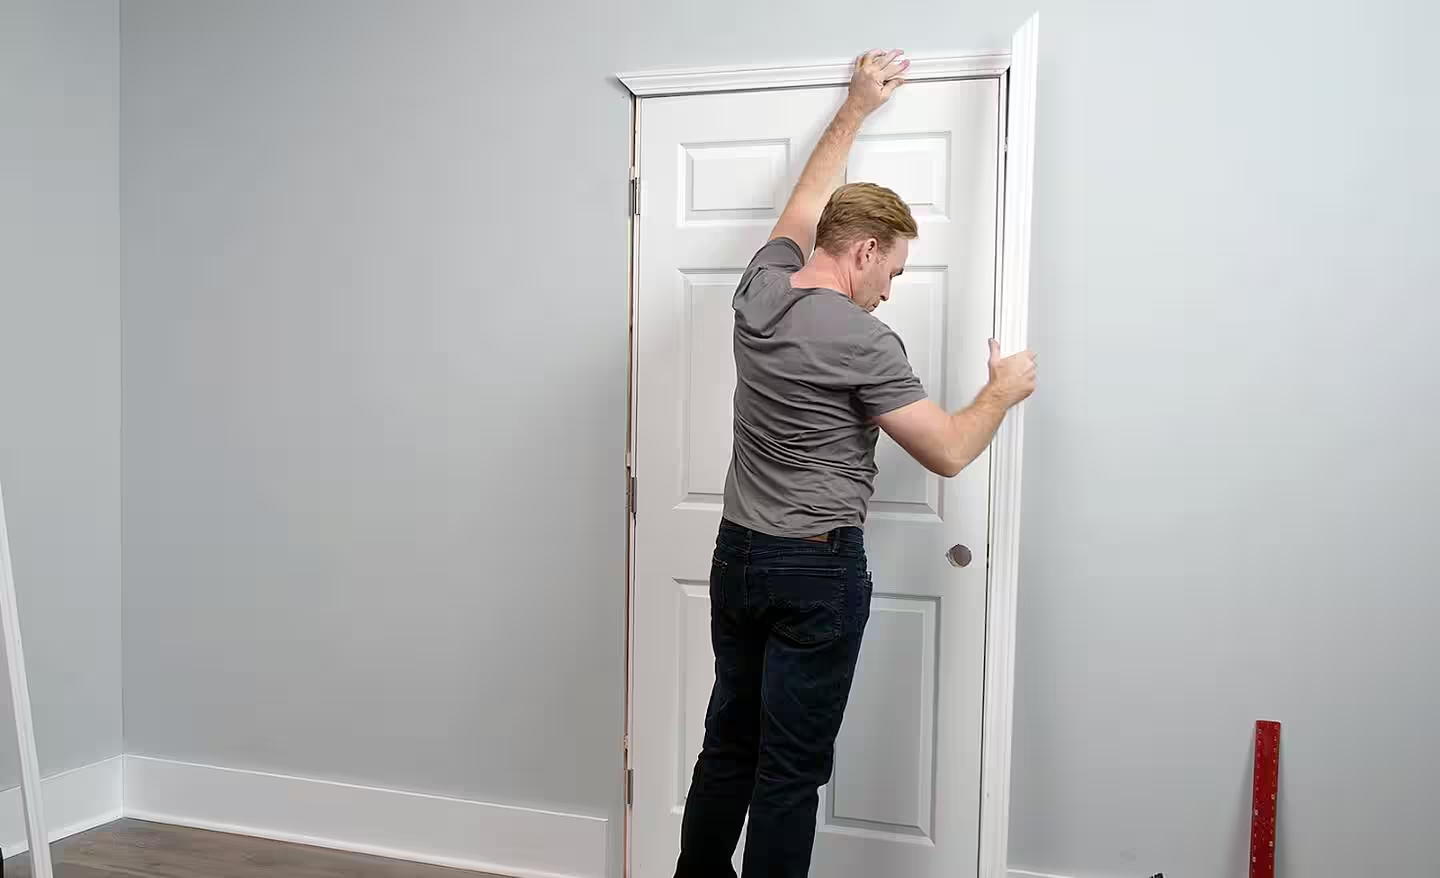
Casing covers the joint between the jamb and wall. The jamb reveal—the small, consistent step visible beside the casing—is marked before cutting. Nail holes and minor joints are filled, caulk is used selectively, and paint or stain is applied to suit the material. Caulk should not be used to disguise large measuring or carpentry errors.
Casing Styles and Trim Details
Flat stock creates a simple profile that works well in contemporary and Shaker-inspired interiors. Colonial or moulded casing adds shadow lines and often suits older trim packages. A backband can give a wider, deeper profile when the room has substantial baseboards or wall panelling.
The joint style also changes the appearance:
- mitred corners suit moulded profiles that need to wrap continuously;
- butt joints can work well with flat stock and a clean contemporary layout; and
- rosettes or head blocks create a traditional detail while avoiding a mitred top corner.
The casing should be designed as part of the room, not as an isolated frame. Its width, thickness, and edge profile should coordinate with the baseboard. At a tight corner, the installer may need to rip the casing, adjust the reveal, or plan a return so the trim does not look pinched.
Interior Door Installation Pricing
Numeric installation figures cannot be confirmed without a site measurement, so the following scope table avoids invented amounts. GMC Construction should confirm current pricing after reviewing the opening and finish requirements.
| Scope | What changes the price | Pricing treatment |
|---|---|---|
| Replace a slab in an existing jamb | Trimming, hinge matching, latch machining, finish | Project-specific quote |
| Install a prehung single door | Demolition, rough-opening correction, jamb extension, casing | Project-specific quote |
| Install French or double doors | Opening accuracy, paired hardware, alignment, glass | Project-specific quote |
| Install a bifold, barn, or pocket door | Track support, wall opening, blocking, wiring conflicts | Project-specific quote |
| Replace casing only | Profile, material, wall condition, corner detail, painting | Project-specific quote |
| Add hardware or access control | Lockset type, privacy function, reinforcement | Project-specific quote |
Ask whether the quote includes the door, hardware, removal, disposal, casing, jamb extensions, filling, caulking, and painting. Comparing labour-only pricing with a complete installed scope can create a misleading difference.
Common Installation Problems
A door that rubs is not always oversized. The jamb may be out of plumb, the hinge screws may be loose, or seasonal movement may have changed the opening. Other warning signs include an inconsistent reveal, a latch that will not engage, hinge-bound movement, casing that separates from the wall, and a door that swings open or closed on its own.
Avoid these common shortcuts:
- fastening the jamb before checking the slab in the opening;
- relying on trim nails to hold a heavy door assembly;
- cutting every casing piece before confirming the actual wall conditions;
- placing a barn-door rail into drywall without adequate structural backing;
- painting over unfilled fastener holes and open joints; and
- trimming the slab repeatedly when the actual problem is the frame.
When to Call a Professional
A capable homeowner may assemble a simple slab-and-hardware project, but professional help is valuable when the opening is crooked, the door is heavy, the casing must match existing millwork, or wall changes are required. Pocket doors, widened openings, and door changes in potentially load-bearing walls belong within a renovation scope that accounts for framing and building services.
GMC Construction can assess the opening, coordinate carpentry and finishing, and handle the surrounding repair through its handyman and maintenance service. For multiple doors or work connected to a larger interior renovation, the team can package the work into one defined construction scope.
Conclusion
A well-installed interior door should operate quietly, latch without force, maintain even clearances, and look integrated with the room’s trim. The best result begins with deciding whether the jamb can remain, measuring the real opening, selecting the right slab, and treating casing as finish carpentry rather than a cover-up.
To arrange an interior-door and casing assessment in Toronto or the GTA, contact GMC Construction or call 647-450-4466 for a current project quote.