
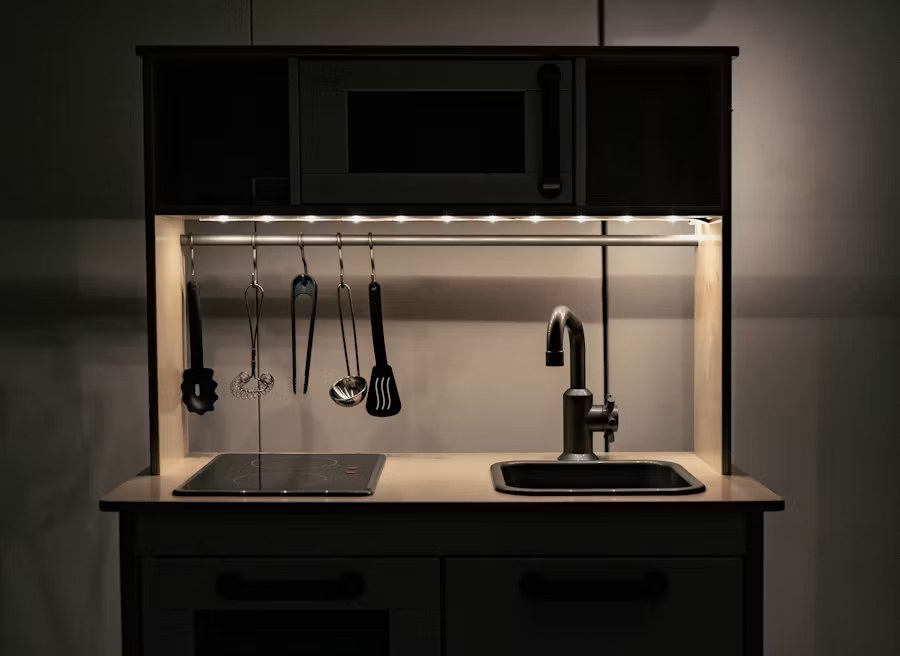
IKEA’s modular kitchen system can create a functional, modern kitchen, but a successful installation depends on accurate measurements, a complete parts order, level mounting, precise fillers and panels, and careful coordination with countertops, appliances, plumbing, and electrical work.
This guide explains what homeowners should plan before and during an IKEA kitchen installation in the GTA.
Why IKEA Kitchen Installation Requires Careful Planning
Flat-pack cabinets are standardized, but homes are not. Walls can be out of plumb, floors can slope, corners may not be square, and plumbing or electrical locations may conflict with cabinet frames and drawers.
Small errors can lead to:
- uneven cabinet lines
- doors and drawers that do not align
- insufficient filler at walls
- appliances that do not fit or open correctly
- unsupported countertops
- blocked vents, outlets, or shutoffs; and
- unfinished gaps at panels, ceilings, or floors.
The installation should be planned as a kitchen system, not as furniture assembly alone.
Review the Design Before Ordering
Confirm the room dimensions against the kitchen plan. Measure walls at several heights and record ceiling height, windows, doors, bulkheads, radiators, vents, plumbing, gas, outlets, and panels.
Check:
- appliance model numbers and required openings
- door and drawer clearances
- corner-cabinet movement
- filler and cover-panel widths
- countertop overhangs and support
- sink and dishwasher locations
- range and ventilation requirements
- refrigerator ventilation and door swing; and
- access to shutoffs and electrical connections.
Do not assume a digital plan reflects the actual site until dimensions are verified.
Confirm the Complete Parts List
An IKEA kitchen order may include cabinet frames, doors, drawer components, hinges, legs, rails, toe kicks, fillers, cover panels, handles, interior fittings, lighting, and appliance panels.
Sort the delivery by cabinet and compare every package with the final plan. Identify damaged, missing, or incorrect parts before installation begins. Keep labels and hardware organized so components are not mixed between cabinets.
Prepare the Room
Remove the old kitchen and complete required repairs before cabinet installation. The room should be ready for accurate layout.
Preparation may include:
- wall repair and blocking
- floor assessment and correction
- plumbing rough-ins
- electrical and lighting rough-ins
- ventilation work
- painting areas that will become difficult to reach; and
- confirming finished-floor height.
New services should be coordinated with cabinet backs, drawers, appliances, and access requirements.
Establish a Level Reference
Cabinet installation begins from a consistent level line and the highest relevant point of the floor. Base cabinets, wall cabinets, tall units, and countertops must align even when the floor or ceiling does not.
The mounting rail and wall anchoring must suit the wall construction. Use appropriate backing and fasteners; drywall alone should not be assumed to support loaded cabinets.
Assemble and Install Cabinet Frames
Assemble frames on a clean, flat surface and check that they remain square. Install cabinets in the planned sequence, secure adjacent frames together, and verify level, plumb, and alignment continuously.
Do not wait until the final cabinet to correct accumulated errors. Small deviations can affect doors, fillers, countertops, and appliances across the full run.
Plan Fillers, Cover Panels, and Trim
Fillers are required where doors or drawers need clearance from walls, handles, or adjacent cabinets. Cover panels finish exposed sides and can support a furniture-like appearance.
Measure each piece at the actual location because walls and ceilings may vary. Scribe visible edges where needed, protect factory finishes during cutting, and plan how panel thickness affects the final appliance and countertop dimensions.
Coordinate Countertops and Sinks
Countertops should be templated or measured after base cabinets are secured, aligned, and ready. Confirm seams, overhangs, wall conditions, appliance cutouts, sink type, faucet holes, and required support.
Heavy surfaces, islands, long spans, and overhangs may need additional support. Plumbing connections should remain accessible after the sink and cabinet interiors are complete.
Integrate Appliances Correctly
Built-in and panel-ready appliances require exact openings, ventilation, electrical or gas connections, and door clearances. Review manufacturer specifications before cabinet installation.
Check that:
- the dishwasher is supported and can be removed for service
- the refrigerator can ventilate and open fully
- the range or cooktop meets clearance requirements
- the hood or ventilation system has a workable duct path; and
- appliance panels and handles do not collide with adjacent cabinets.
Coordinate Plumbing and Electrical Work
Appropriately qualified trades should complete regulated plumbing, electrical, and gas work where required. Cabinet installers and trades need the same final plan so outlets, junctions, valves, drains, and supply lines land in accessible locations.
Do not conceal required shutoffs, junction boxes, or service connections behind fixed cabinetry without access.
Final Alignment and Quality Checks
After frames, panels, and appliances are in place:
- align doors and drawer fronts
- verify even reveals
- confirm soft-close hardware operates correctly
- check cabinet anchoring and adjacent-frame connections
- test appliance and cabinet-door movement
- confirm countertop support and seams
- install toe kicks and trim cleanly; and
- complete plumbing, electrical, and ventilation testing.
A final walkthrough should distinguish installation adjustments from missing or damaged product parts.
Common IKEA Kitchen Installation Challenges
| Challenge | Practical Response |
|---|---|
| Uneven walls | Use planned fillers, scribing, and a consistent cabinet line |
| Sloped floors | Establish level from the high point and adjust supports correctly |
| Out-of-square corners | Verify dimensions before ordering and adapt fillers or panels |
| Service conflicts | Coordinate rough-ins with cabinet and appliance internals |
| Missing parts | Inventory the delivery before installation |
| Tight appliance clearances | Review exact specifications and door movement early |
| Custom island or end panels | Provide appropriate anchoring, support, and finished detailing |
Kitchen Budget Next Step
Cabinet installation is only one part of the full kitchen scope. Demolition, repairs, panels, counters, plumbing, electrical work, ventilation, flooring, backsplash, and appliances can all affect the project. For budget planning, use Kitchen Renovation Cost in Toronto & the GTA rather than turning this installation guide into a price page.
GMC Construction provides IKEA kitchen installation and complete kitchen renovations across Toronto and the GTA. To discuss design review, site preparation, cabinet installation, or trade coordination, call 647-450-4466.
Ready to turn this into a real project?
Take what you just read and connect it to our kitchen renovation service — we’ll scope project type, location, timing and budget so you get an accurate quote.
Get a free estimate for your project
Tell us what you're planning and our team will get back to you within 24–48 hours. No obligation.