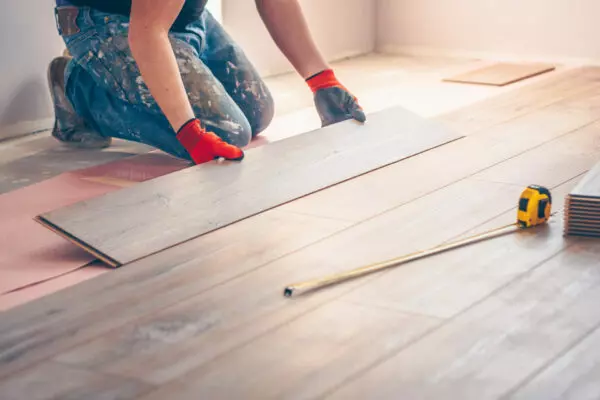
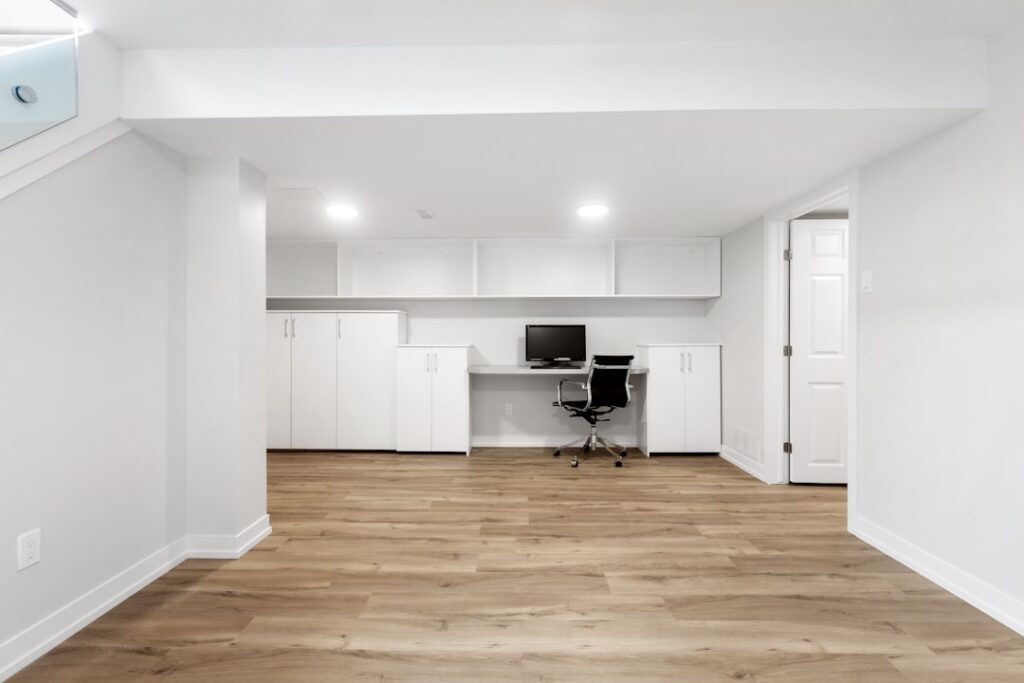
Installing hardwood flooring is a great way to enhance the beauty of your home and increase its value. Whether you’re updating a living room, hallway, or an entire home, hardwood floors offer timeless elegance, durability, and an attractive finish. If you’re a DIYer looking to tackle this home improvement project, this guide will help you get started with the basics of installing hardwood flooring.
At GMC Construction, we specialize in home renovations, and our team of expert contractors in Richmond Hill has successfully completed numerous flooring installations across the Greater Toronto Area (GTA). However, if you prefer to handle the job yourself, here’s a step-by-step guide on how to install hardwood flooring like a professional.
Why Choose Hardwood Flooring?
Before jumping into the installation process, let’s look at why hardwood flooring is such a popular choice among homeowners. Some of the benefits include:
- Timeless Appeal: Hardwood floors never go out of style. They add warmth and elegance to any room.
- Durability: High-quality hardwood floors can last for decades with proper care and maintenance.
- Easy to Maintain: Hardwood floors are easy to clean and don’t trap dust or allergens like carpets.
- Increased Home Value: Hardwood flooring is an attractive feature for potential buyers, adding value to your home.
Tools You’ll Need for Hardwood Flooring Installation
Before you begin, make sure you have all the right tools for the job. You can rent or purchase the following tools to make the installation process easier:
- Tape Measure: For measuring your floor space accurately.
- Miter Saw: To cut your planks to the correct length.
- Flooring Stapler or Nailer: Used to attach the hardwood planks to the subfloor.
- Rubber Mallet: For tapping planks into place without damaging them.
- Utility Knife: To cut flooring and trim pieces.
- Chalk Line: To ensure straight lines when laying out the planks.
- Level: To make sure the subfloor is even before installing the hardwood.
- Moisture Meter: To measure moisture levels in the subfloor before installation.
- Wood Glue: Used in some installations to help secure the planks.
Step-by-Step Guide to Installing Hardwood Flooring
1. Prepare the Subfloor
Before you start installing hardwood flooring, the first step is to prepare the subfloor. Ensure that it is clean, dry, and level. If the subfloor is concrete, use a moisture barrier to protect your hardwood from moisture damage. If the subfloor is wood, check for squeaky spots and secure any loose areas.
Tip: For proper ventilation, allow your hardwood planks to acclimate to the room’s temperature and humidity levels for 48 to 72 hours before installation. This helps prevent warping after installation.
2. Plan the Layout
The key to a successful installation is a well-planned layout. Use your tape measure and chalk line to mark a straight guideline for the first row of planks. This will ensure that your hardwood flooring installation remains straight and aligned.
It’s important to work with the longest wall or a central feature in the room as your starting point, as it will help the flooring look even across the space.
3. Install the First Row of Hardwood
Start by placing the first row of planks along the marked guideline. Ensure that the planks are flush against the wall, leaving a small expansion gap of about 1/4-inch to 1/2-inch between the planks and the wall. Use a rubber mallet to tap the planks together to create a snug fit.
Tip: Avoid cutting the first row to fit. Instead, stagger the seams for a more natural look by using leftover pieces from previous rows.
4. Install the Remaining Rows
As you continue laying the planks, stagger the seams by using the cut-off pieces from the previous row. This creates a more aesthetically pleasing and durable installation. Use your mallet to ensure each plank is securely in place, and don’t forget to check that each row is straight.
Tip: If you’re using a nail-down method, make sure to nail every 6-8 inches along the edges of the planks. If you’re using a click-lock or glue-down method, follow the manufacturer’s instructions for the best results.
5. Cutting the Last Row
The final row of hardwood planks will likely need to be cut to fit the space. Measure the gap between the wall and the last row, and use your saw to cut the planks to the correct size. You may need to use a utility knife to trim the ends.
Tip: If you’re installing hardwood in a room with irregular walls or doorways, make sure to measure carefully and cut the planks to fit.
6. Finishing Touches
Once all the planks are installed, it’s time to add baseboards or quarter-round trim to cover the expansion gap between the flooring and the walls. Secure these trims in place using nails or a nail gun.
Tip: Be sure to leave a small gap when installing the trim so that it doesn’t press against the flooring and cause it to buckle.
Common Mistakes to Avoid
While installing hardwood flooring can be a rewarding DIY project, there are a few common mistakes to watch out for:
- Improper Acclimation: Not allowing the hardwood to acclimate to the room’s temperature and humidity levels can lead to gaps and warping.
- Ignoring Subfloor Issues: Installing hardwood on an uneven or dirty subfloor can lead to issues down the road. Ensure the subfloor is clean and level before starting.
- Skipping Expansion Gaps: Failing to leave expansion gaps around the edges of the floor can cause the hardwood to expand or contract with changes in temperature and humidity.
- Incorrect Nail Placement: Placing nails too close to the edge can damage the wood, while nails that are too far apart can cause the planks to loosen.
When to Call a Professional
While installing hardwood flooring can be a rewarding DIY project, some aspects are better left to professionals. If you’re dealing with a large area, complicated layouts, or complex subfloor issues, it’s a good idea to consult with an expert.
As a trusted general contractor in Richmond Hill, GMC Construction offers professional hardwood flooring installation services in the GTA. Our team can help with every aspect of your flooring project, from preparation to the final installation, ensuring that your floors are perfectly installed and ready to enjoy for years to come.
Contact GMC Construction for Your Flooring Installation Needs
At GMC Construction, we take pride in our expertise and experience in providing high-quality home renovation services. From hardwood flooring installation to complete home renovations, our team is here to help you transform your space.
If you’re looking for a general contractor in Richmond Hill or the GTA, reach out to us today for a consultation. Let us handle the details, so you can enjoy a beautiful, long-lasting floor that enhances your home’s appeal.
Related Keywords Used:
Local contractor Richmond Hill
DIY hardwood flooring
General contractor in Richmond Hill
Hardwood flooring installation
Flooring installation services
Home renovation contractor
Hardwood floors GTA

Looking to get a quote on your next home renovation project?
Call us todat at 6474504466 to start a free consultation
✓ Trusted quality
✓ professionalism
✓ Strong Reputation
Experience excellence with Toronto’s top general contractor for quality and professionalism .


Get in touch
We’re here to answer your questions.
Have a Questions? Call us:
+16474504466
Or Email us at:
info@gmco.ca
Canada
75 Oneida Crescent , Richmond Hill
ON, L4B 0H3
Looking to get a quote?
Latest Posts
The latest stories, exclusive insights, and special offers.

The Complete Guide to Shower Pans: Types, Installation, and Maintenance Tips

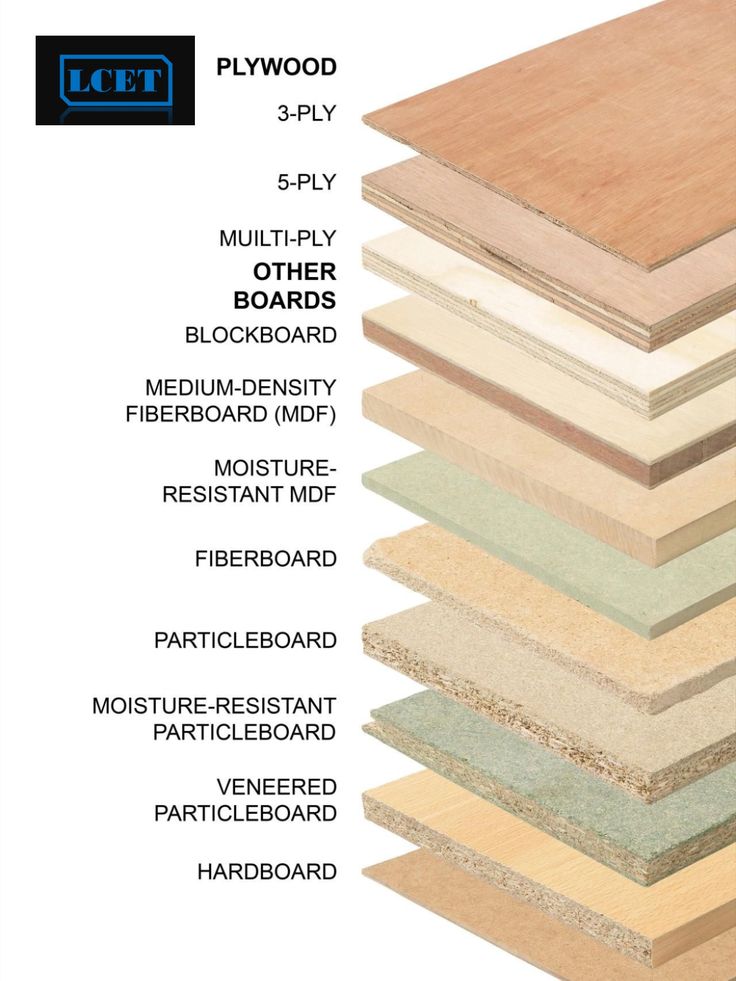
The Ultimate Guide 2025 to Different Types of Plywood: Uses, Benefits, and Choosing the Right One

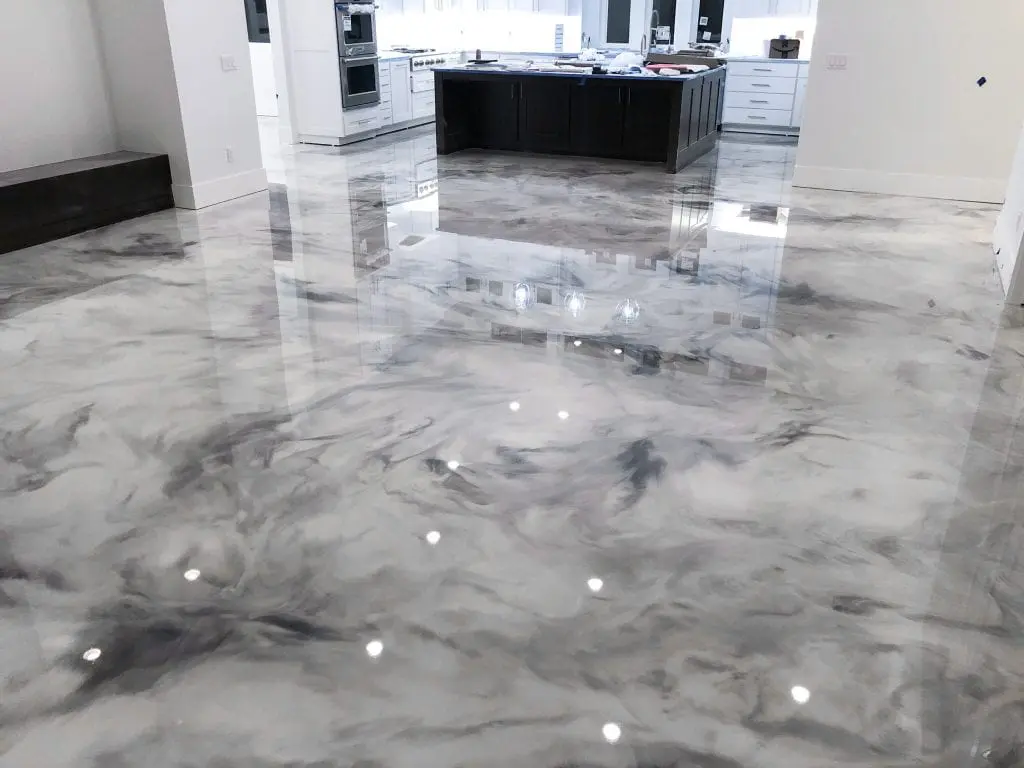
The Ultimate Guide to Epoxy Flooring: Benefits, Applications, and Installation

The Ultimate Guide to Level 5 Plastering: What You Need to Know