
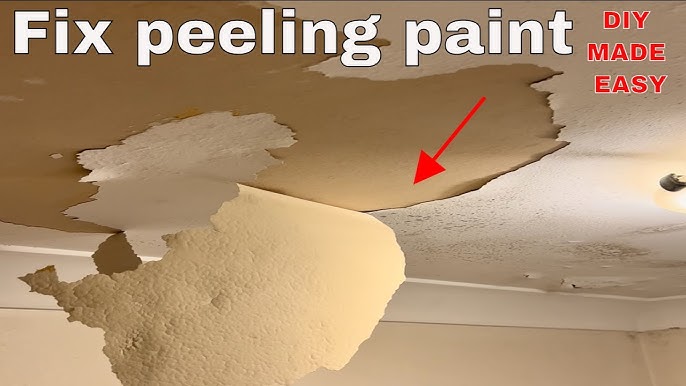
Peeling paint is a symptom, not just a surface defect. New paint will peel again if the cause is moisture, contamination, poor adhesion, an incompatible coating, or a failing substrate. The durable repair starts with diagnosis, then removes only what is unsound and rebuilds the coating system on a clean, dry surface.
Identify Why the Paint Is Peeling
Moisture from behind the surface
Roof or plumbing leaks, foundation seepage, wet exterior walls, bathroom condensation, and missing ventilation can push moisture through the coating. Look for staining, soft drywall, efflorescence, mould, swollen trim, or peeling that returns in the same area.
Fix the water source and dry the assembly before painting. A stain-blocking primer can control a dry residual stain; it cannot stop an active leak.
Poor surface preparation
Paint will not bond reliably to dust, grease, soap residue, chalking paint, wallpaper paste, or glossy surfaces that were not prepared. Kitchens, bathrooms, handrails, and trim are common trouble spots.
Incompatible or weak layers
A strong new coating can pull on a weak older layer. Water-based paint applied over a glossy coating without proper preparation may also fail. Determine which layer is releasing and use a primer specified for the substrate and remaining coating.
Painting damp material or under poor conditions
Low temperatures, excessive heat, high humidity, or recoating too quickly can interfere with film formation. Follow the coating manufacturer’s application and cure conditions.
Substrate movement or damage
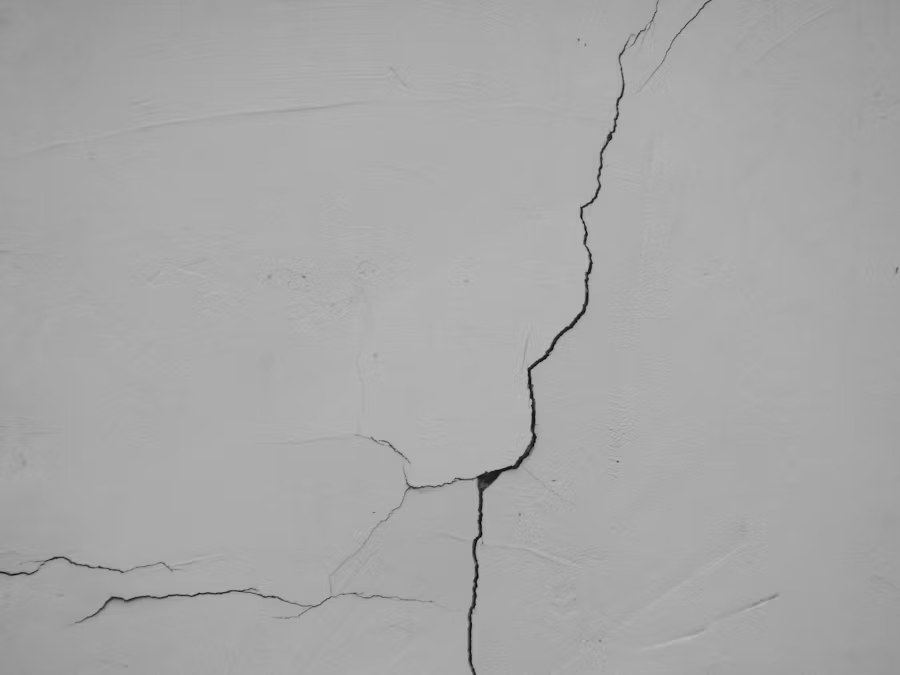
Cracked plaster, loose drywall paper, rust, rotten wood, and repeated joint movement cannot be corrected with paint alone. Repair or replace the substrate first.
Screen Older Paint for Lead Before Disturbing It
Older homes may contain lead-based paint beneath newer layers. Peeling, sanding, scraping, and heat removal can release hazardous dust or fumes. Health Canada advises testing suspected paint and warns against ordinary sanding, heat guns, or burning methods where lead may be present.
Pause before disturbing an unknown older coating, especially in a pre-renovation home or an area accessible to children. Arrange appropriate testing and use a qualified remediation approach if lead is identified or reasonably suspected. Keep children, pets, and unprotected occupants away from the work zone.
Gather the Right Tools and Protection
For a small, non-lead interior repair on a sound substrate, the work may require:
- drop sheets and masking materials;
- eye protection, gloves, and suitable respiratory protection;
- a scraper or putty knife;
- sanding blocks or a controlled dust-extraction sander where appropriate;
- cleaning supplies compatible with the surface;
- patching compound and applicators;
- a primer selected for the failure and substrate;
- matching paint in the correct product, colour, and sheen.
Ventilate the area as the products require. Read safety data and label directions. Do not mix cleaners or use a household vacuum for hazardous dust.
Protect and Isolate the Work Area
Remove furniture or cover it completely. Protect floors and adjacent finishes. Turn off power before removing electrical cover plates, and do not work on exposed wiring.
Dust control matters. Close or protect openings as appropriate, use tools connected to suitable extraction when safe for the material, and clean from high to low. For extensive failure, occupied homes, or suspected hazards, professional containment may be necessary.
Remove Loose Paint Without Damaging Sound Layers
Use a scraper to lift paint that is visibly loose or releases with light pressure. Stop where the remaining edge is firmly bonded. Aggressive removal can tear drywall paper, gouge plaster, or expose a hazardous older layer.
If the paint peels off in large sheets, test adhesion beyond the visible defect. A localized patch will not last if the entire wall coating is weak.
Do not use a heat gun or open flame on unknown paint. Do not dry-sand suspected lead paint.
Feather, Repair, and Clean the Surface
On a confirmed non-hazardous surface, feather the hard paint edge so it will not telegraph through the finish. Repair dents, torn drywall paper, cracks, or shallow depressions with a compatible patching material. Allow it to dry and sand only as required.
Remove dust, grease, and cleaner residue. The surface must be sound and dry. In a bathroom or kitchen, use a cleaning method that addresses soap or cooking residue without leaving a film.
Cracks that keep returning may indicate movement or an incorrectly finished joint. Investigate rather than repeatedly filling them.
Prime for the Actual Problem
Primer should solve a defined adhesion, porosity, stain, or substrate issue. Examples include:
- a bonding primer for a sound but difficult glossy surface;
- a stain-blocking primer after a leak is fixed and dry;
- a sealer for damaged drywall paper;
- a masonry-compatible primer on prepared masonry;
- a corrosion-control primer on properly prepared metal.
One product is not right for every condition. Confirm compatibility with the substrate, remaining old paint, patching compound, and topcoat. Follow dry and recoat times.
Apply the Finish Paint Correctly
Blend a small repair only if the stored paint truly matches. Paint colour can change with age, and sheen differences often remain visible under side light. Repainting to a natural break or the full wall usually produces a more even result.
Apply the specified coat thickness with the appropriate brush or roller. Do not stretch the paint too far or recoat before it is ready. Maintain ventilation and suitable temperature and humidity during curing.
Current allowances for preparation, repair, primer, finish paint, and professional labour depend on the size and cause of the failure and must be confirmed in a project quote.
Prevent Paint From Peeling Again
Durable paint depends on the building as much as the coating. Maintain bathroom and kitchen exhaust, repair exterior caulking and roof leaks, control basement humidity, and keep gutters and grading functional. Use coatings intended for the substrate and exposure.
Keep a record of the colour, product, sheen, primer, application date, and repaired cause. If peeling returns, that record helps distinguish a coating problem from recurring moisture or movement.
Know When to Call a Professional
Bring in qualified help when:
- lead, asbestos, or another hazardous material may be present;
- the affected area is extensive;
- drywall, plaster, wood, or masonry is deteriorated;
- moisture continues after basic repairs;
- mould growth is widespread or keeps returning;
- the failure is on a high exterior area;
- electrical or structural components are exposed;
- previous repairs have repeatedly failed.
The correct professional may be a contractor, painter, roofer, plumber, building-envelope specialist, or hazardous-material consultant, depending on the cause.
Conclusion
To repair peeling paint permanently, find and correct the cause, screen older coatings for lead risk, remove only unsound material, repair and clean the substrate, prime for the actual condition, and apply the finish within its specified limits. If moisture, widespread adhesion failure, or hazardous materials are involved, GMC Construction can help define the repair scope before another cosmetic coat hides the warning signs.