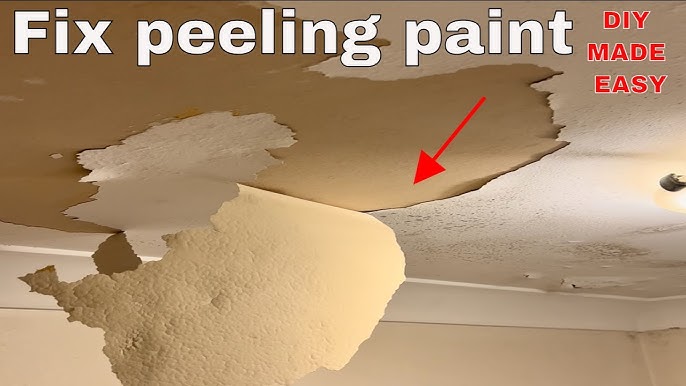
Peeling paint is a common issue that homeowners face, whether on the exterior or interior of their homes. Not only does it look unattractive, but it can also expose the surface underneath to damage. Fortunately, repairing peeling paint is a manageable task with the right tools and techniques. In this blog post, we will walk you through how to fix peeling paint and restore the beauty of your home.
Why Does Paint Peel?
Before diving into the repair process, it’s important to understand why paint peels. Several factors contribute to this issue, including:
- Moisture: One of the primary causes of peeling paint is excess moisture, whether due to humidity, water leaks, or condensation.
- Improper Surface Preparation: If surfaces aren’t properly cleaned or primed before painting, the paint won’t adhere well, leading to peeling over time.
- Age: Paint naturally wears out with time, especially if it has been exposed to the elements.
- Temperature Fluctuations: Extreme heat or cold can cause the paint to expand and contract, leading to cracks and peeling.
How to Repair Peeling Paint: Step-by-Step
Whether you’re dealing with peeling paint on your walls, ceiling, or exterior, these steps will help you fix the issue and get your surfaces looking like new again.
Step 1: Gather Your Materials
To repair peeling paint, you will need the following tools and supplies:
- Putty knife or scraper
- Sandpaper (medium and fine grit)
- Primer (preferably mold- and mildew-resistant)
- Paint (in the color of your choice)
- Paintbrush or roller
- Drop cloth or painter’s tape for protection
- Cleaning solution or mild detergent
Step 2: Prepare the Area
Start by protecting the surrounding area. Lay down a drop cloth or cover the floor with painter’s tape to avoid paint splatters. If you are working indoors, ensure good ventilation, especially if using strong-smelling products. For exterior surfaces, pick a day with mild weather and no rain forecasted.
Step 3: Scrape Off the Peeling Paint
Using a putty knife or scraper, gently remove the peeling paint from the surface. Be sure to scrape off all loose, flaking paint, and take care not to damage the underlying surface. For larger areas with extensive peeling, you may want to use a paint scraper for better control.
Step 4: Sand the Surface
Once the peeling paint is removed, use medium-grit sandpaper to smooth out any rough spots and edges. Sanding will also help remove any remaining remnants of old paint. Afterward, switch to fine-grit sandpaper to smooth the surface, ensuring it is ready for priming and painting. This step is crucial for creating a surface that allows the new paint to adhere well.
Step 5: Clean the Surface
Once sanding is complete, clean the area with a mild detergent solution or a specialized cleaner to remove dust, dirt, and grease. This is important because any debris left on the surface can affect the quality of the final paint job. Allow the area to dry completely before moving on to the next step.
Step 6: Apply Primer
Before applying new paint, it’s important to apply a coat of primer. Primer helps the new paint adhere better and ensures the surface is smooth. If you’re working on an exterior wall or a surface exposed to moisture, choose a primer designed for those conditions. Allow the primer to dry completely according to the manufacturer’s instructions.
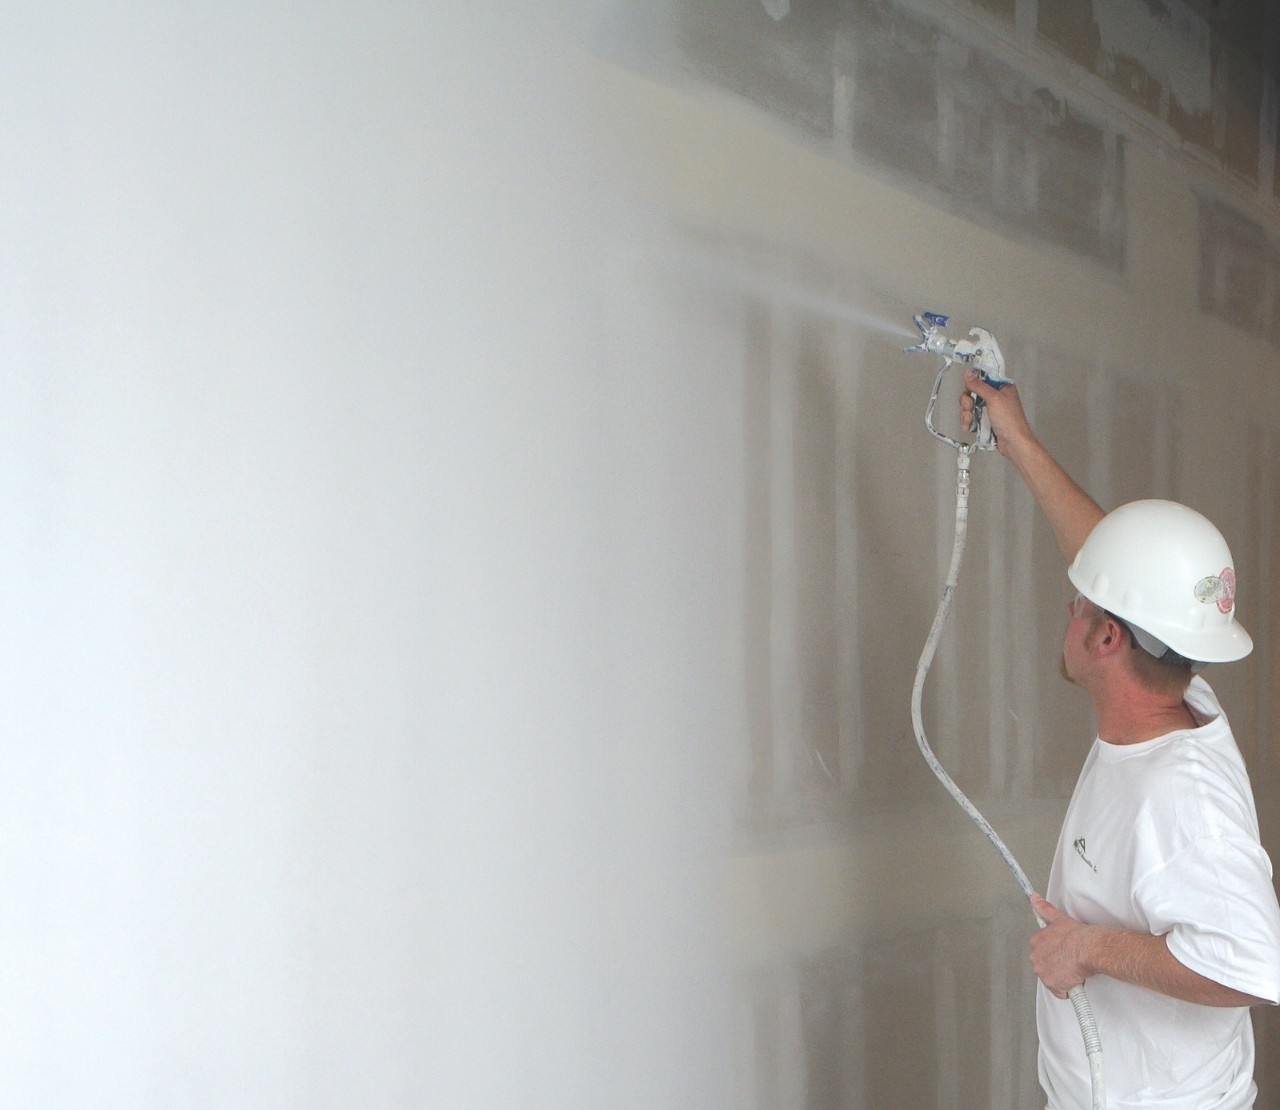
Step 7: Paint the Surface
Once the primer has dried, you can apply the new paint. Use a paintbrush for smaller areas or detailed work, and a roller for larger, flat surfaces. Apply an even coat, and allow the first layer to dry fully before applying a second coat, if necessary. Follow the recommended drying times on the paint can.
Step 8: Clean Up
After painting, clean your brushes, rollers, and other tools with water or the appropriate solvent, depending on the type of paint used. Carefully remove any painter’s tape and drop cloths.
Preventing Future Peeling Paint
To keep your painted surfaces looking fresh for years to come, follow these maintenance tips:
- Address Moisture Issues: If moisture is the cause of peeling paint, take steps to fix leaks or address humidity problems in the area.
- Proper Surface Preparation: Always clean and prime surfaces before painting to ensure good adhesion.
- Use High-Quality Paint: Invest in high-quality paint that is designed for the surface you’re painting, whether it’s interior, exterior, or specific to bathrooms or kitchens.
- Regular Inspections: Check painted areas regularly for signs of wear, and address peeling early before it becomes a bigger problem.
Conclusion: Call GMC Construction Inc. for Expert Assistance
Repairing peeling paint is an achievable DIY project, but if you’re looking for professional results or a more extensive renovation, GMC Construction Inc. is here to help. We specialize in home improvement, including interior and exterior painting, wall repairs, and home renovations in the Greater Toronto Area (GTA). Whether you need a quick paint touch-up or a full renovation, our team is committed to delivering exceptional results.
Contact GMC Construction Inc. today to learn more about our services and schedule a consultation. Let us help you restore the beauty and functionality of your home with expert renovations!
This article offers practical steps for fixing peeling paint and highlights the services provided by GMC Construction Inc. to help improve the condition of your home, with a focus on local SEO for the GTA area.

Looking to get a quote on your next home renovation project?
Call us todat at 6474504466 to start a free consultation
✓ Trusted quality
✓ professionalism
✓ Strong Reputation
Experience excellence with Toronto’s top general contractor for quality and professionalism .


Looking to get a quote on your next home renovation project?
Call us todat at 6474504466 to start a free consultation
Get in touch
We’re here to answer your questions.
Have a Questions? Call us:
+16474504466
Or Email us at:
info@gmco.ca
Canada
75 Oneida Crescent , Richmond Hill
ON, L4B 0H3
Looking to get a quote?
Latest Posts
The latest stories, exclusive insights, and special offers.

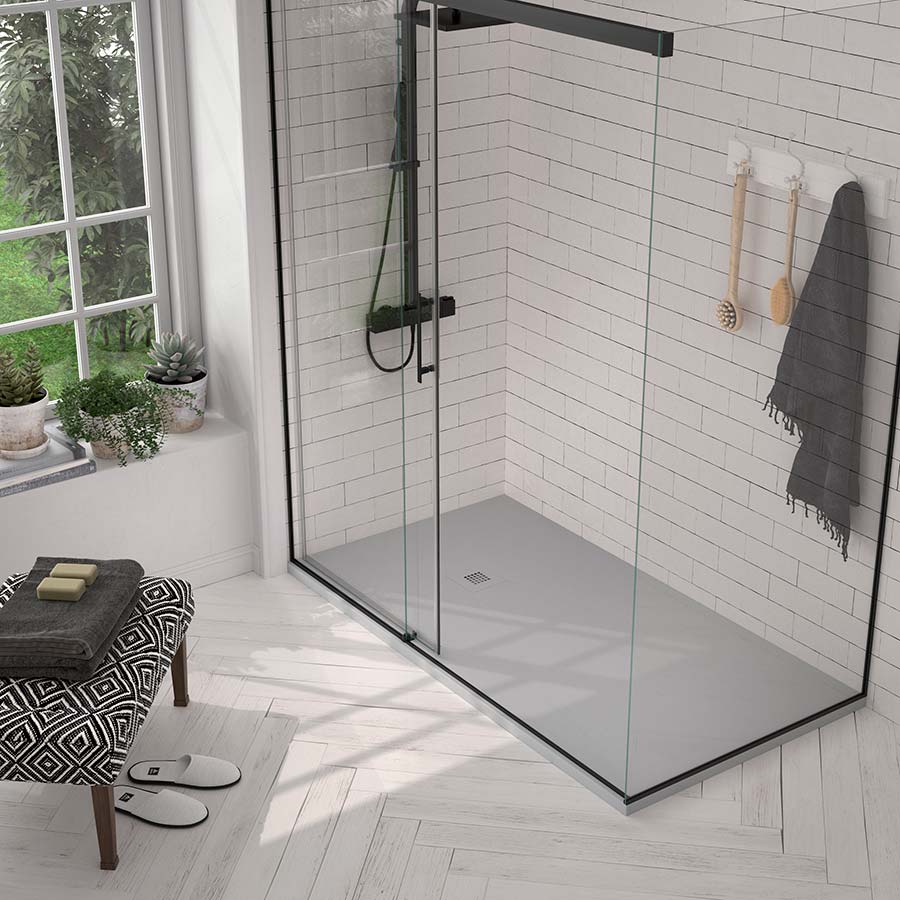
The Complete Guide to Shower Pans: Types, Installation, and Maintenance Tips

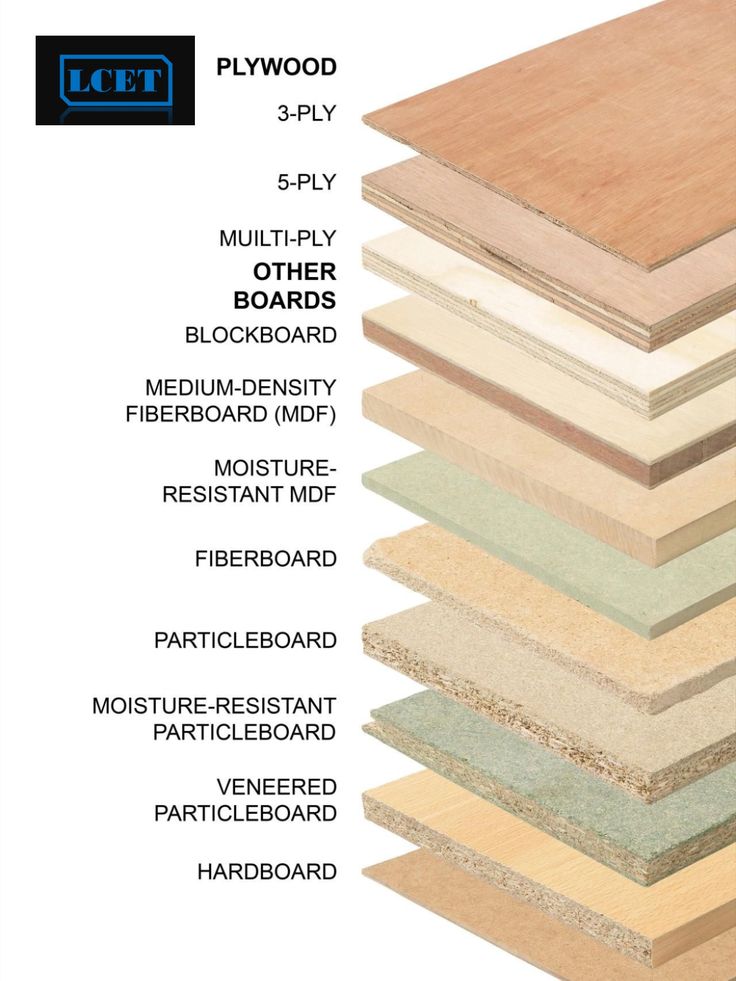
The Ultimate Guide 2025 to Different Types of Plywood: Uses, Benefits, and Choosing the Right One

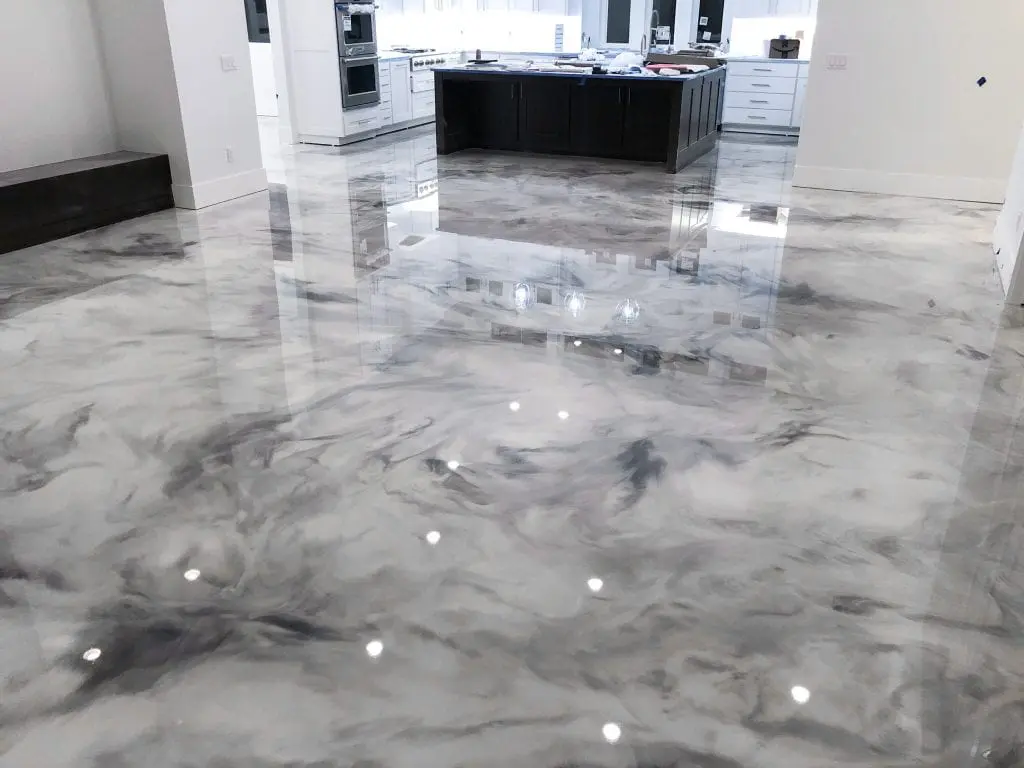
The Ultimate Guide to Epoxy Flooring: Benefits, Applications, and Installation

The Ultimate Guide to Level 5 Plastering: What You Need to Know