When it comes to creating the perfect surface for painting or finishing, many homeowners and contractors look for the best techniques to achieve a flawless result. One such technique is Level 5 plastering, which is a high-end finishing method that produces a smooth, seamless, and polished surface. Whether you’re considering a renovation project in Toronto, the Greater Toronto Area (GTA), or anywhere else in Ontario, understanding Level 5 plastering can make a big difference in the final look of your walls and ceilings.
In this guide, we’ll walk you through everything you need to know about Level 5 plastering, including what it is, why it’s important, the process, and the benefits it offers. If you’re looking to enhance your home or commercial renovation project with a superior finish, this technique is worth exploring.

What is Level 5 Plastering?
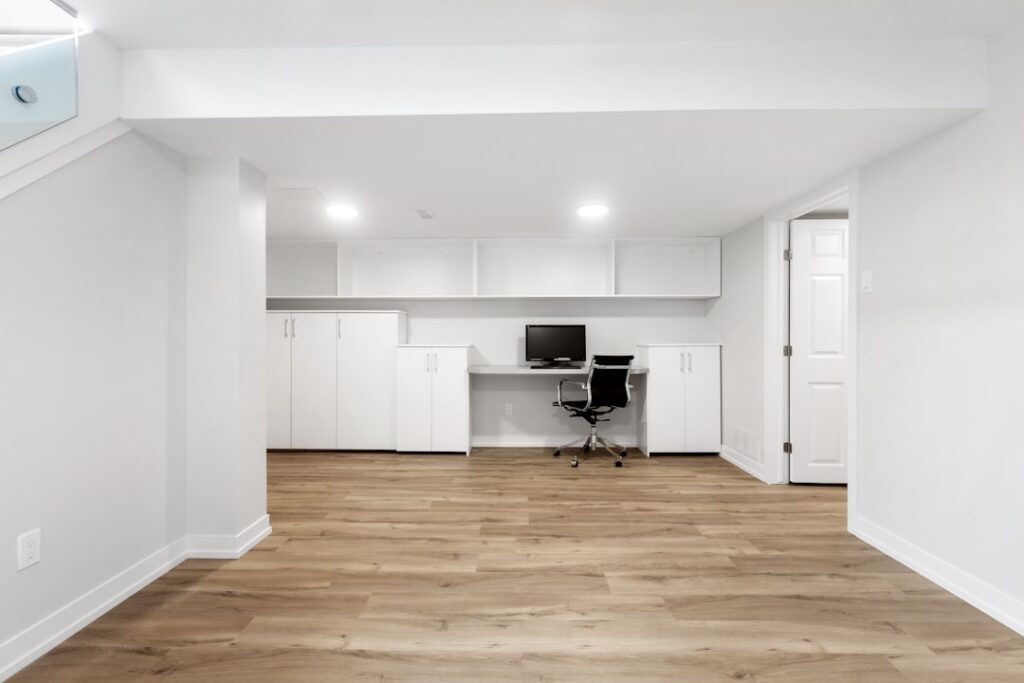
Level 5 plastering refers to the highest quality finish for drywall and plaster surfaces. It’s an advanced technique used to create ultra-smooth, flawless walls and ceilings. The finish is ideal for areas where lighting is harsh or where the walls will be highly visible, such as in luxury homes, high-end office spaces, and commercial buildings.
In Level 5 plastering, the final coat of joint compound (also known as mud) is applied in multiple layers and sanded down meticulously to ensure a perfectly smooth surface. This process eliminates imperfections, such as texture or visible seams, creating a surface that is mirror-like and suitable for high-end paint finishes or wallpapering.
The Key Features of Level 5 Plastering:
- Flawless Surface: No imperfections, texture, or visible seams.
- Smooth Texture: Creates a smooth, polished surface that’s ideal for modern, contemporary designs.
- Enhanced Durability: The finished surface is more resistant to cracking and damage compared to lower-level finishes.
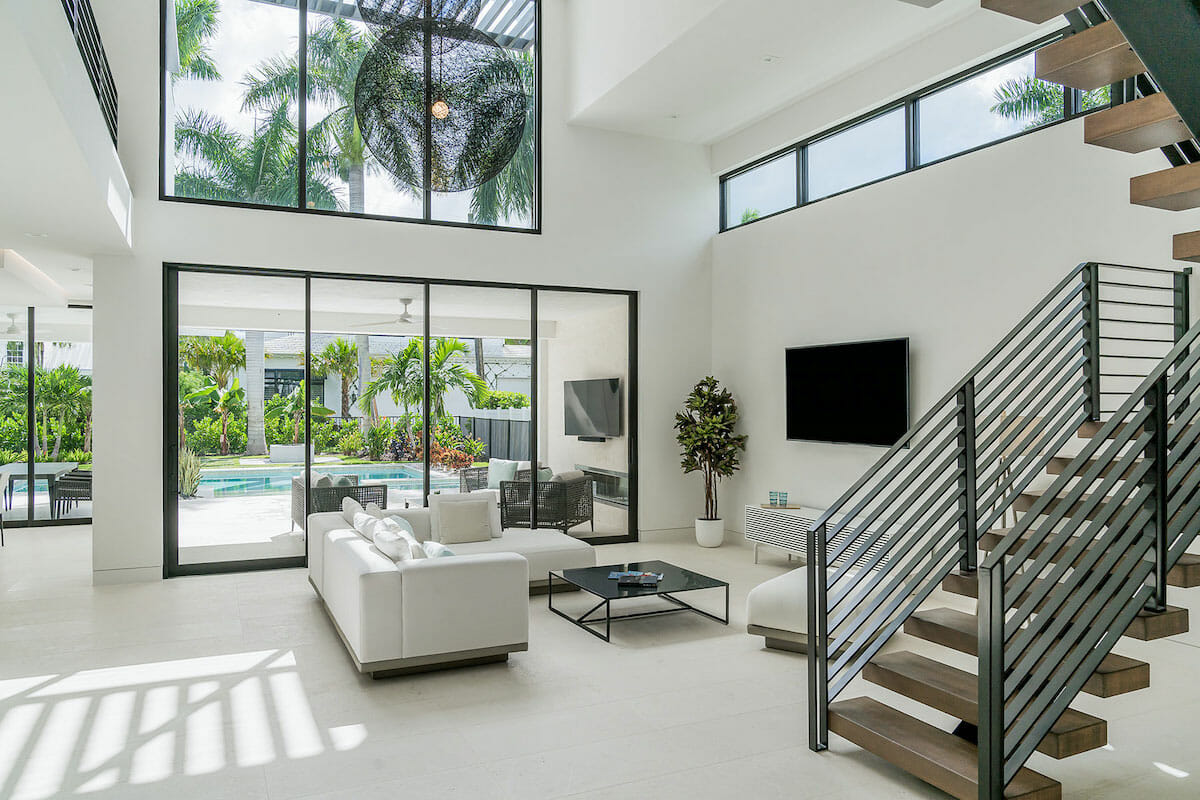
- Ideal for High-End Applications: Level 5 is often used in luxury home renovations, upscale office spaces, and in areas with severe lighting conditions.
Why Choose Level 5 Plastering?
There are many reasons why you may choose Level 5 plastering for your renovation or construction project, whether it’s for your home or commercial space. Here are some of the top benefits:
1. Perfect Finish for Aesthetic Appeal
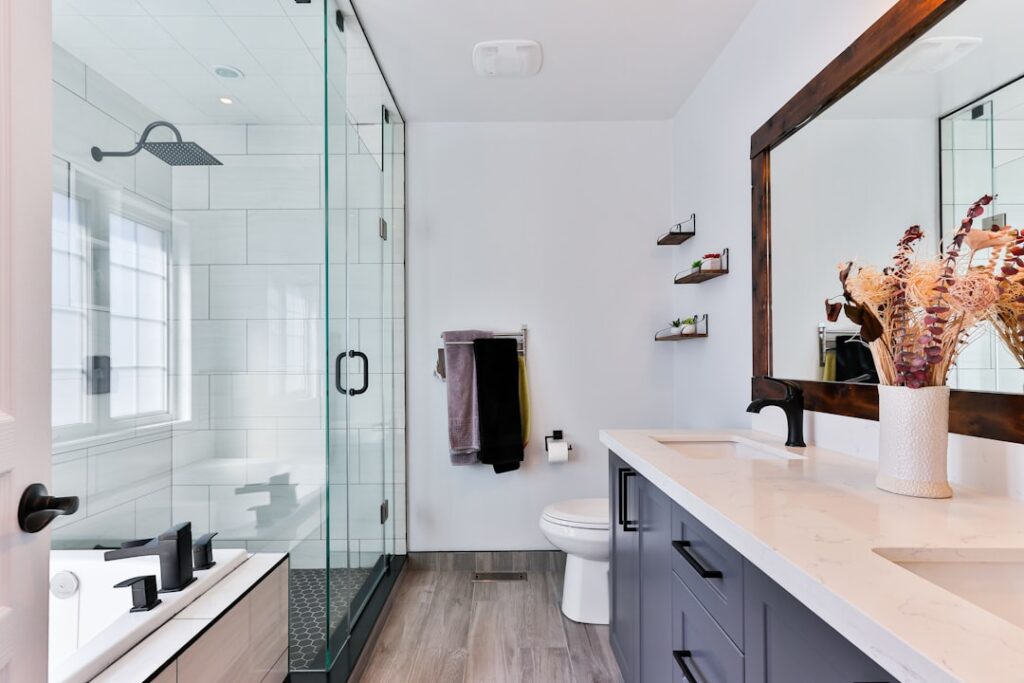
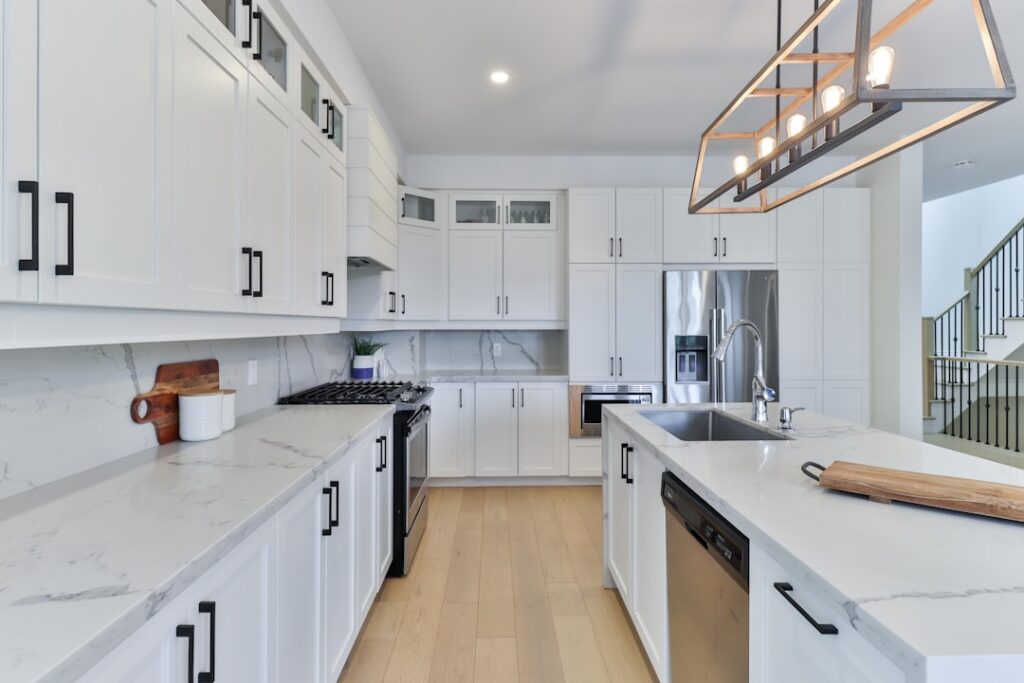
Level 5 plastering gives your walls and ceilings a flawless, high-end appearance. This is especially important for rooms with dramatic lighting, such as living rooms, kitchens, bathrooms, or high-traffic areas. Without imperfections, the paint will adhere evenly, and the colors will appear smooth and consistent.
2. Ideal for High-Quality Painting or Wallpapering
If you plan to apply a custom paint job or wallpaper, Level 5 is the best choice. The perfectly smooth surface provides a flawless base for paint application or wallpaper installation, ensuring that your chosen finishes shine in the best light possible.
3. Durability and Long-Lasting Performance
Level 5 plastering provides a more durable surface than lower-level finishes. The meticulous layering and sanding process create a surface that resists cracking and other forms of damage over time, making it perfect for high-traffic areas or spaces where the walls and ceilings are exposed to varying environmental conditions.
4. Increased Home Value
A home with impeccable finishes, including Level 5 plastering, not only looks better but also adds value. Potential buyers will appreciate the superior craftsmanship and attention to detail, making Level 5 plastering a worthwhile investment for homeowners looking to enhance their property.
5. Improved Lighting Reflection
When you have perfectly smooth walls and ceilings, light can reflect better off the surfaces. This is especially useful for smaller spaces where maximizing natural light or enhancing artificial lighting is important.
How is Level 5 Plastering Done?
The Level 5 plastering process involves multiple steps and requires expert skill to achieve a perfectly smooth finish. Here’s a step-by-step breakdown of the process:
Step 1: Surface Preparation
The first step in any plastering project is preparing the surface. This involves ensuring the drywall is properly secured and any holes or gaps are patched. All screws, nails, or joints should be filled and sanded down to provide an even surface for the joint compound.
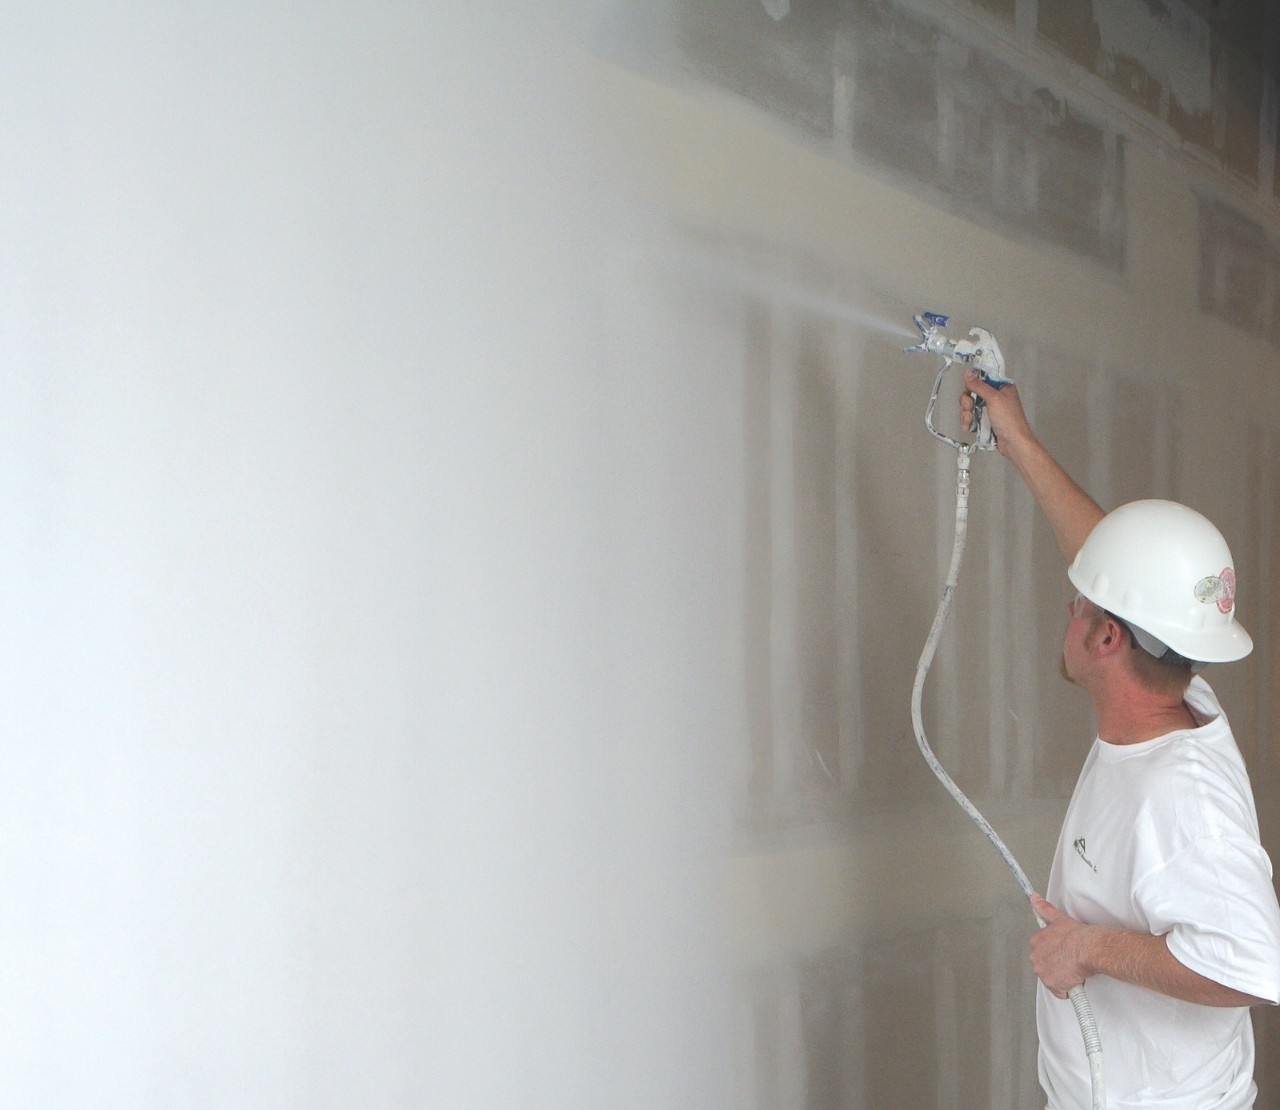
Step 2: Applying the First Coat of Joint Compound
After the surface is prepared, the first layer of joint compound is applied. This layer is spread across the drywall using a drywall knife or trowel. The goal of this first coat is to fill in any visible seams and imperfections.
Step 3: Sanding the First Coat
Once the first coat of joint compound dries, it needs to be carefully sanded down to a smooth finish. This is done using fine-grit sandpaper to avoid roughness or gouges.
Step 4: Applying Additional Coats
After sanding, additional coats of joint compound are applied. These coats are thinner and finer, each one building upon the previous layer. Between each application, sanding is necessary to maintain smoothness.
Step 5: Final Sanding and Finishing
Once the final coat is applied, the surface is carefully sanded to a silky smooth finish. This is where the Level 5 finish truly comes to life, as it requires meticulous work to eliminate any imperfections and create a surface that’s perfect for painting or wallpapering.
Step 6: Clean-Up
After the plastering is complete, any dust or debris from sanding is cleaned up. The space is left pristine and ready for painting or other finishes.
When Should You Consider Level 5 Plastering?
While Level 5 plastering is ideal for high-end finishes, there are specific situations where this technique should be considered:
1. Luxury Home Renovations
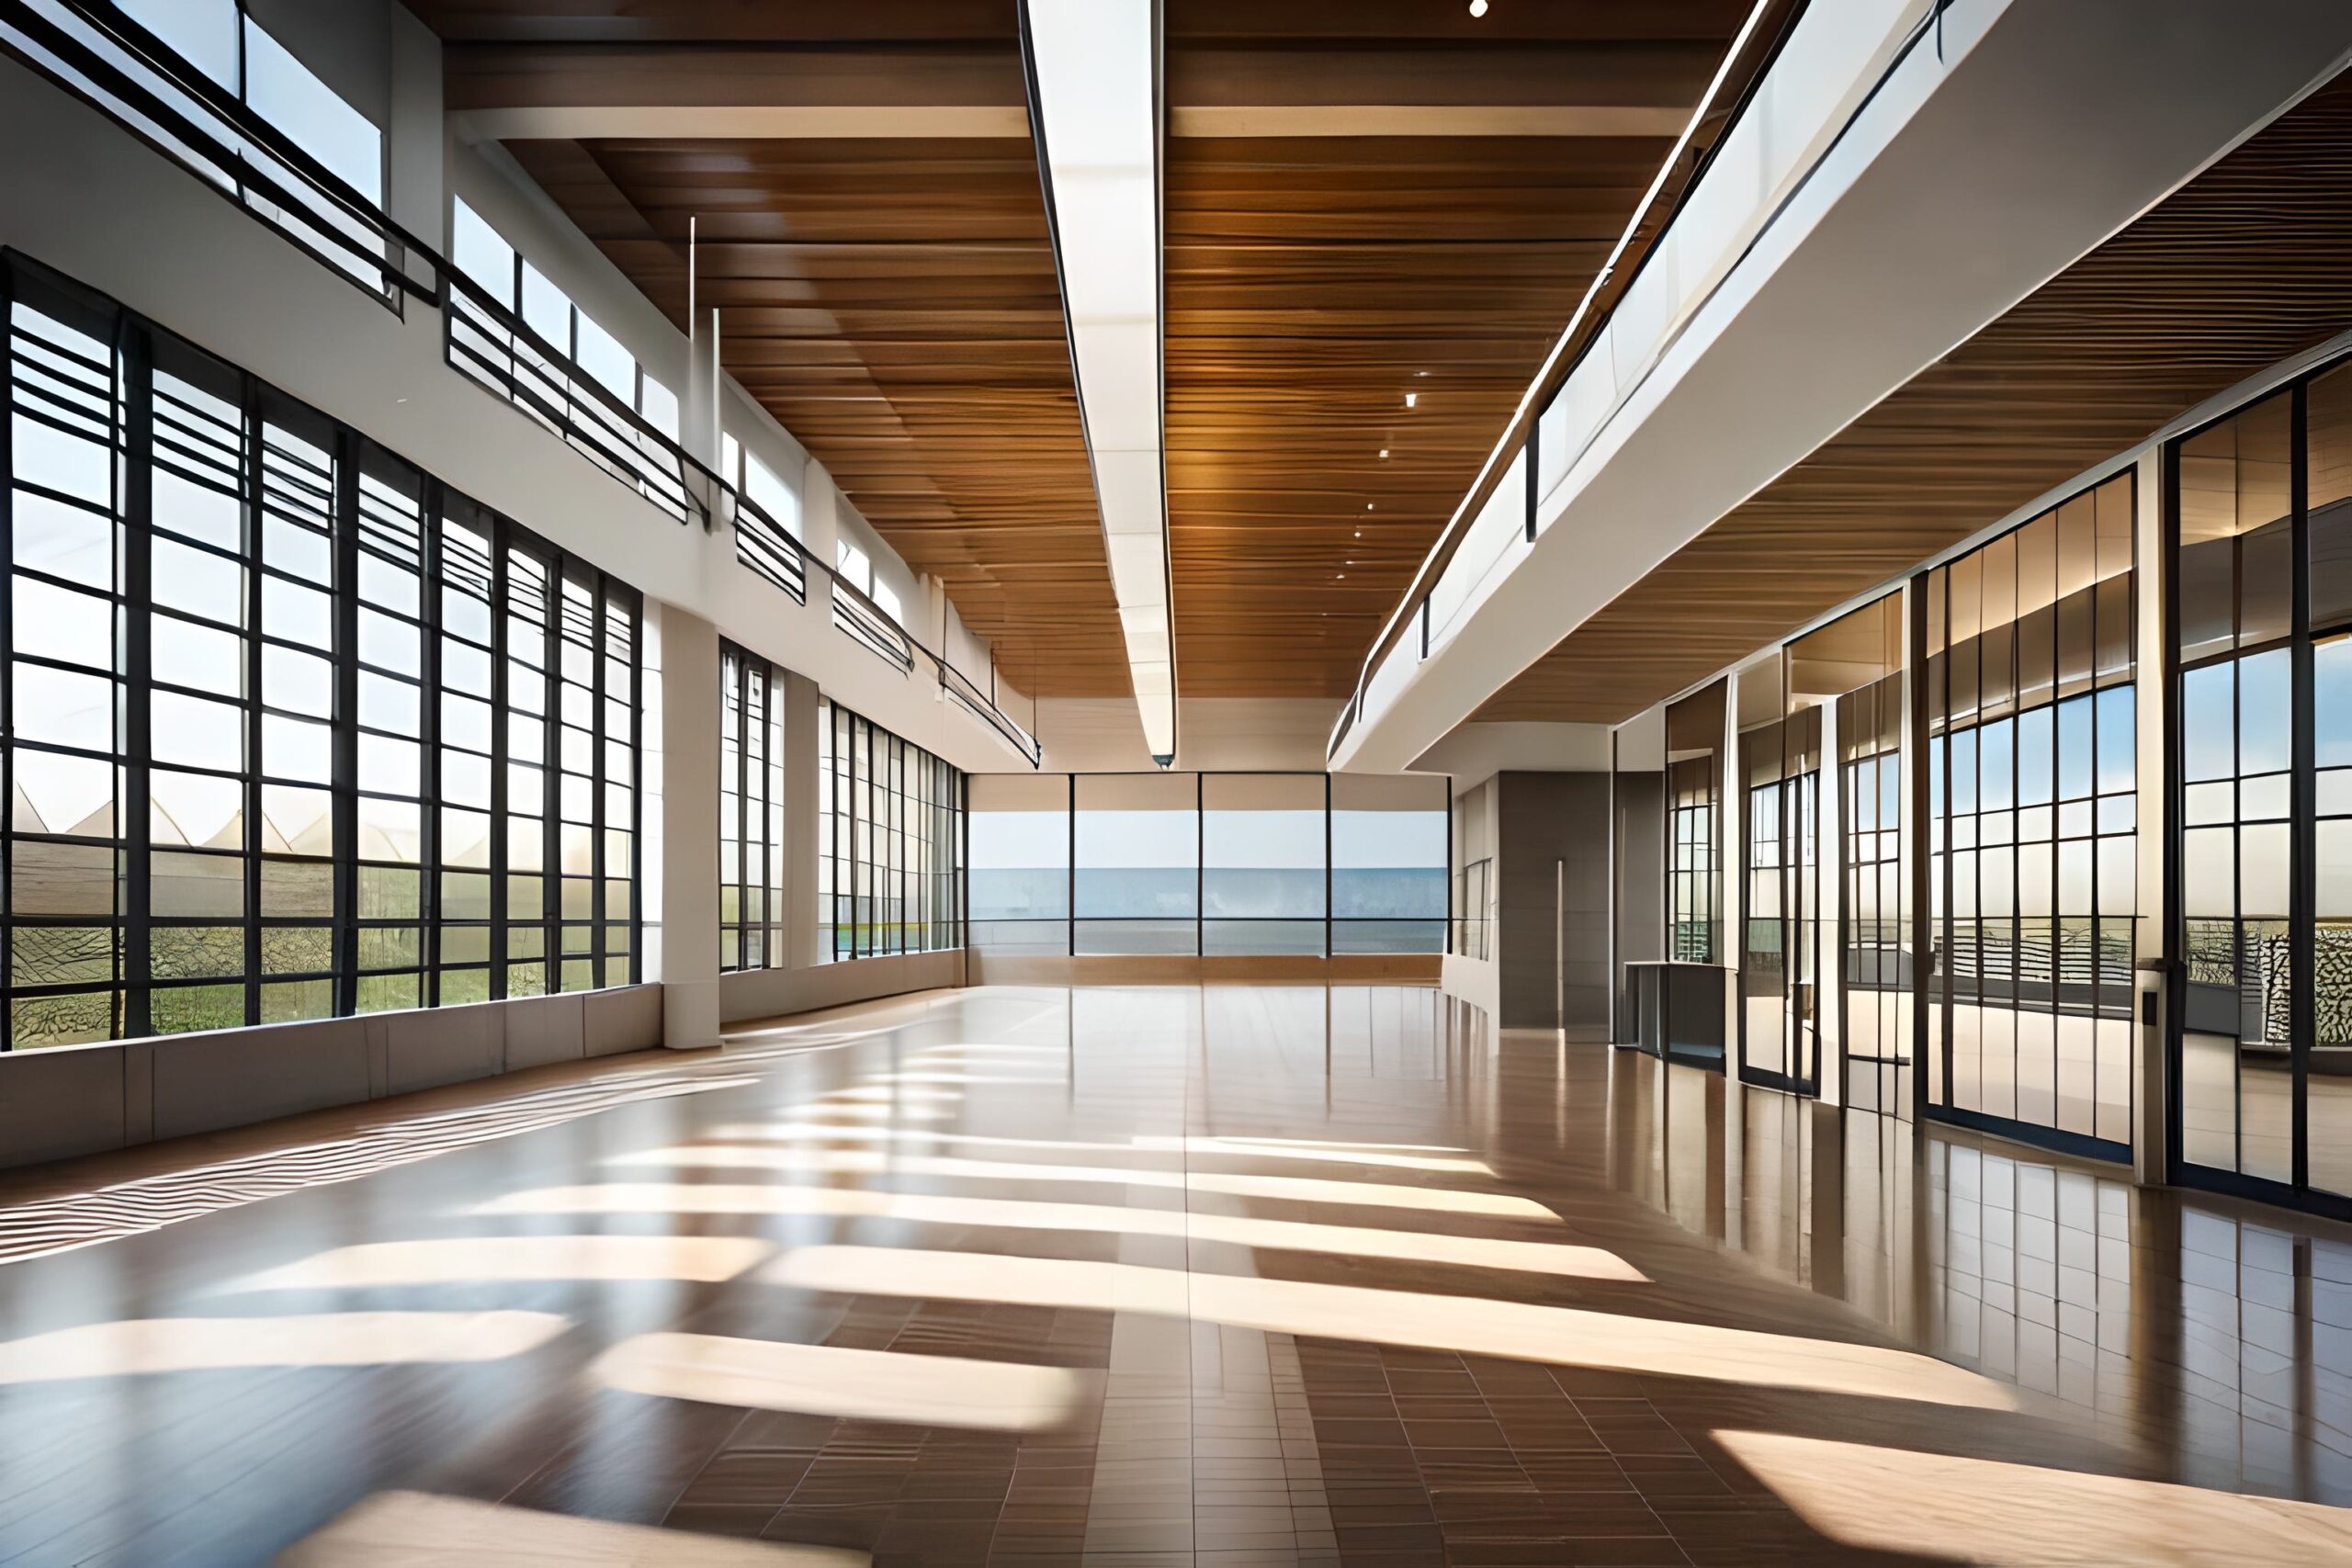
If you’re renovating a luxury home, achieving a Level 5 finish ensures that your home stands out. From grand entryways to sophisticated living rooms, a flawless surface is essential for showcasing your space at its best.
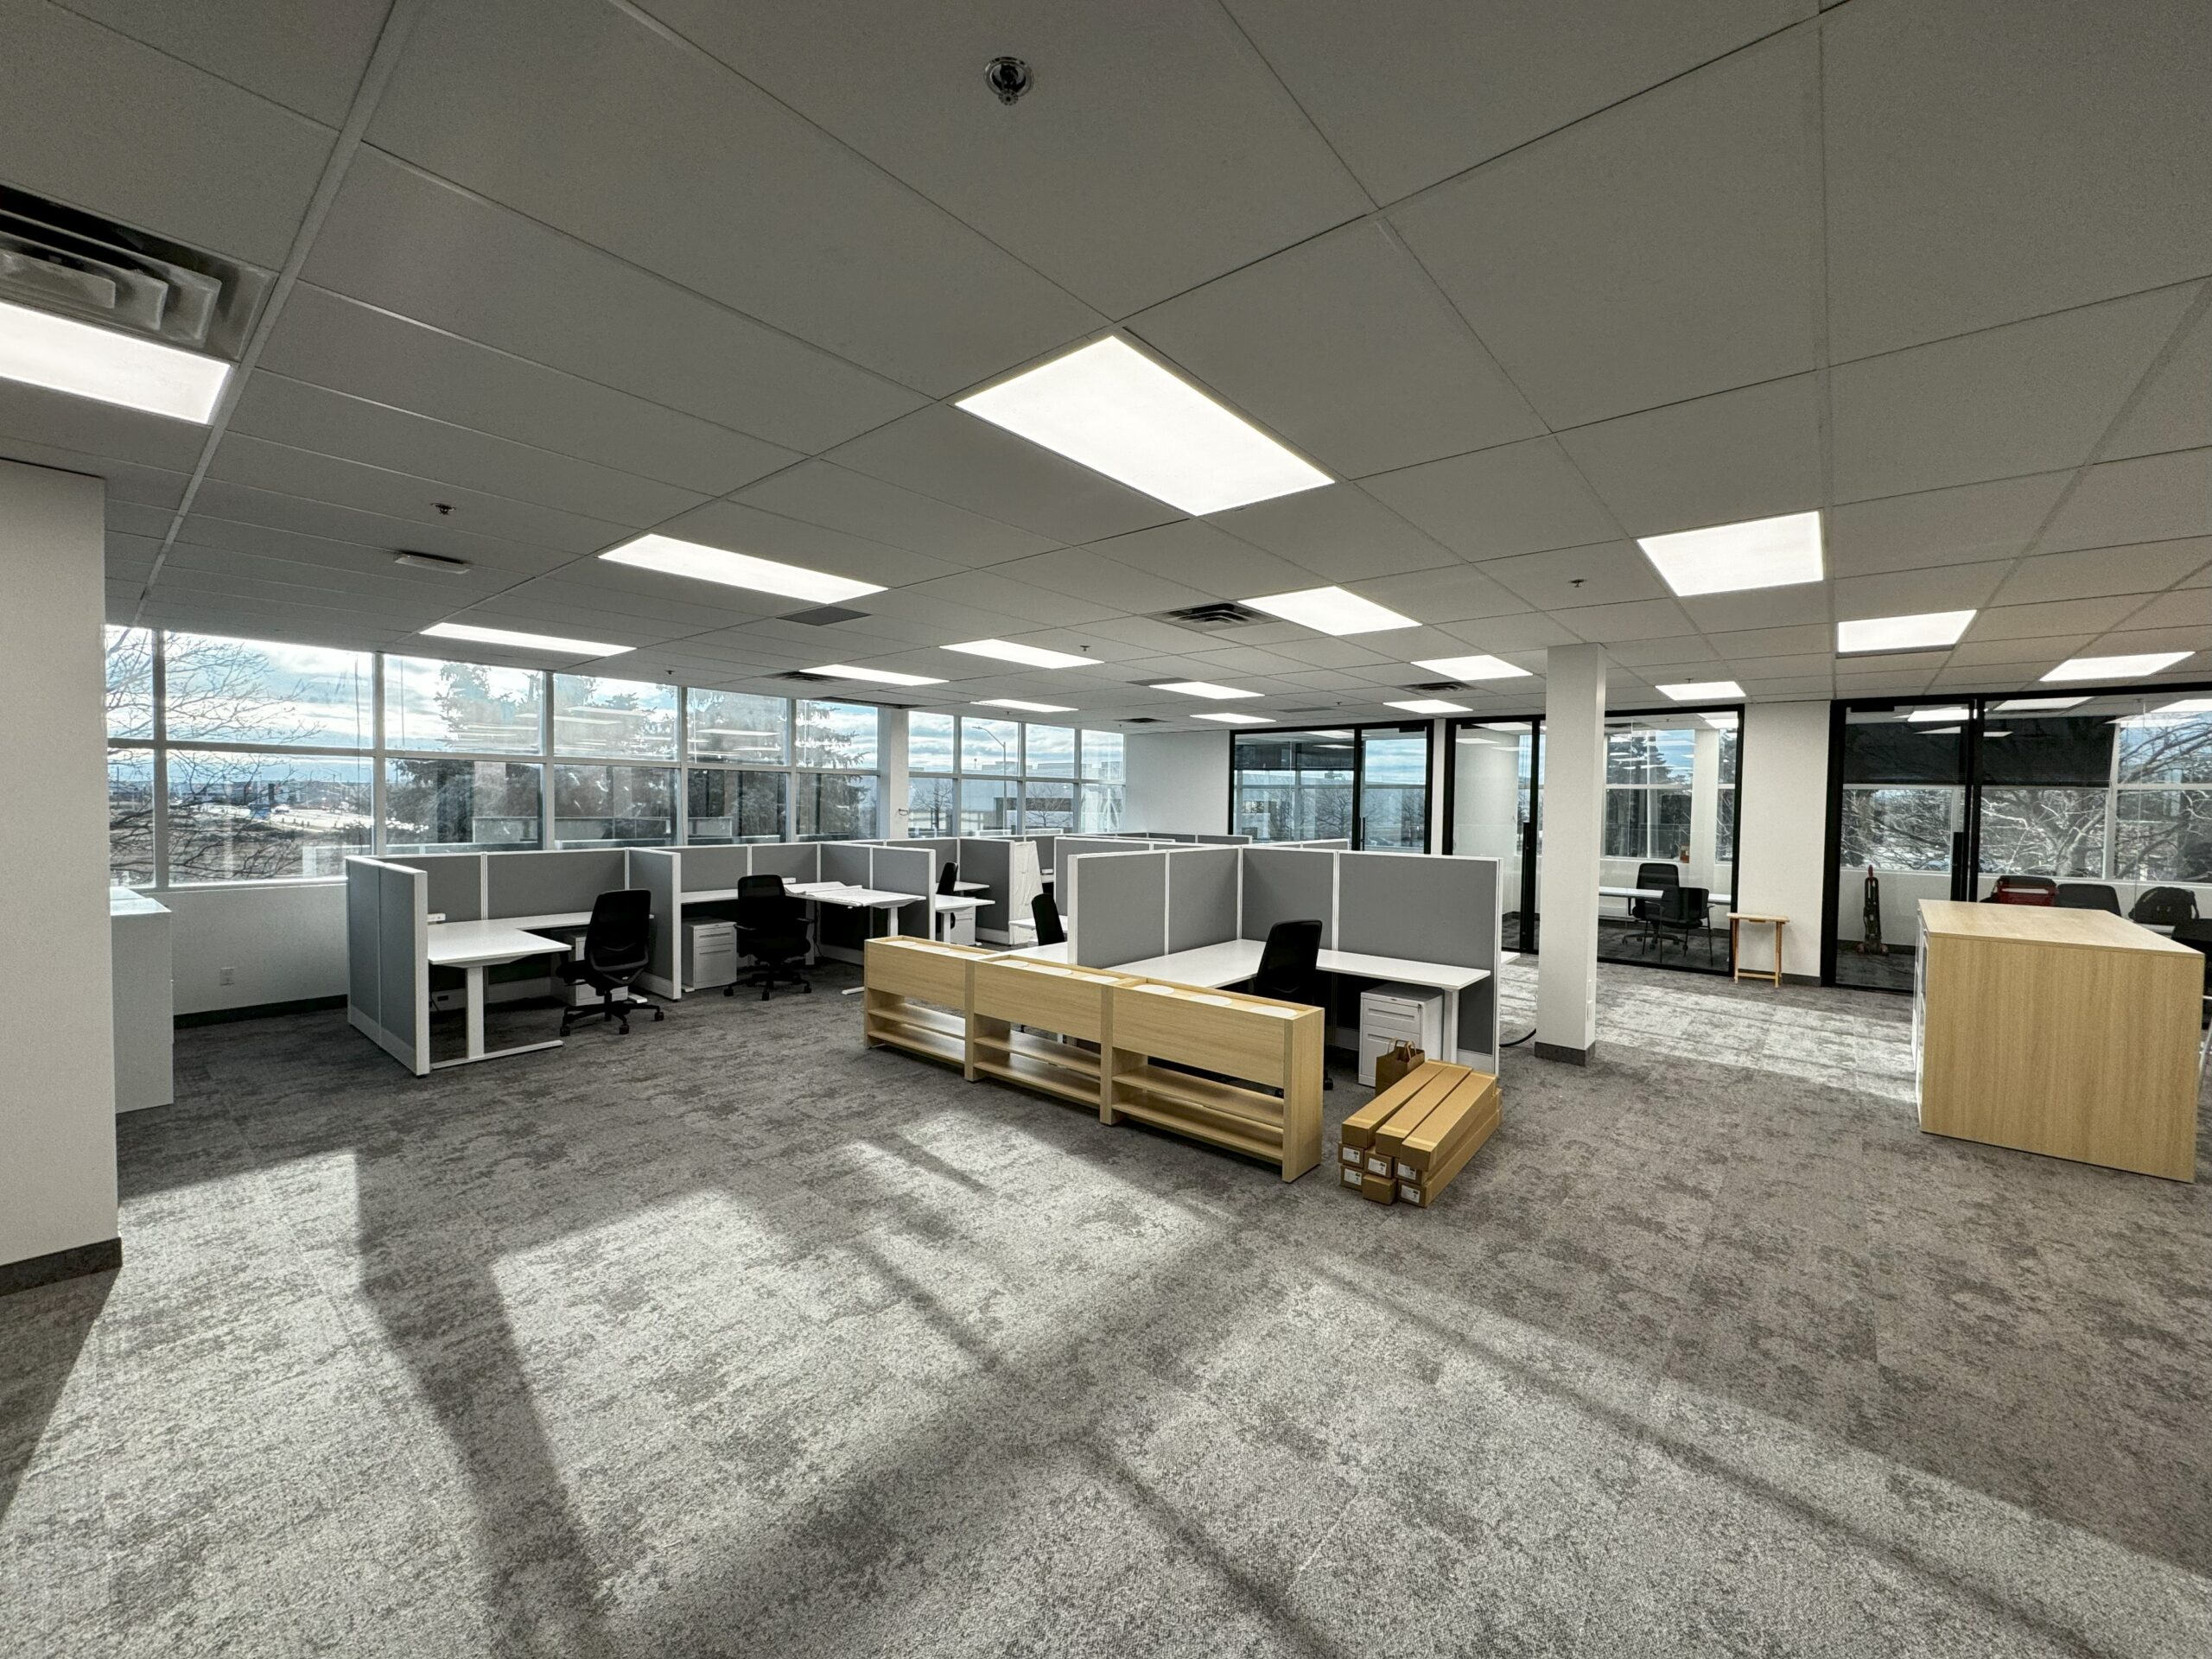
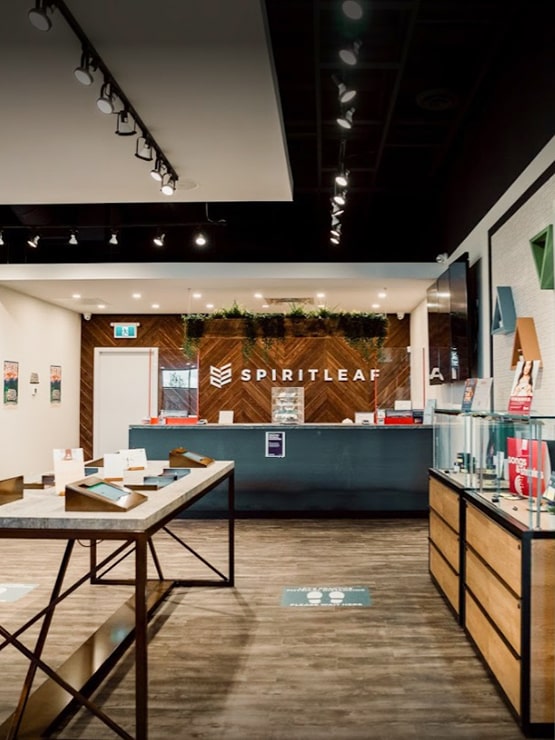
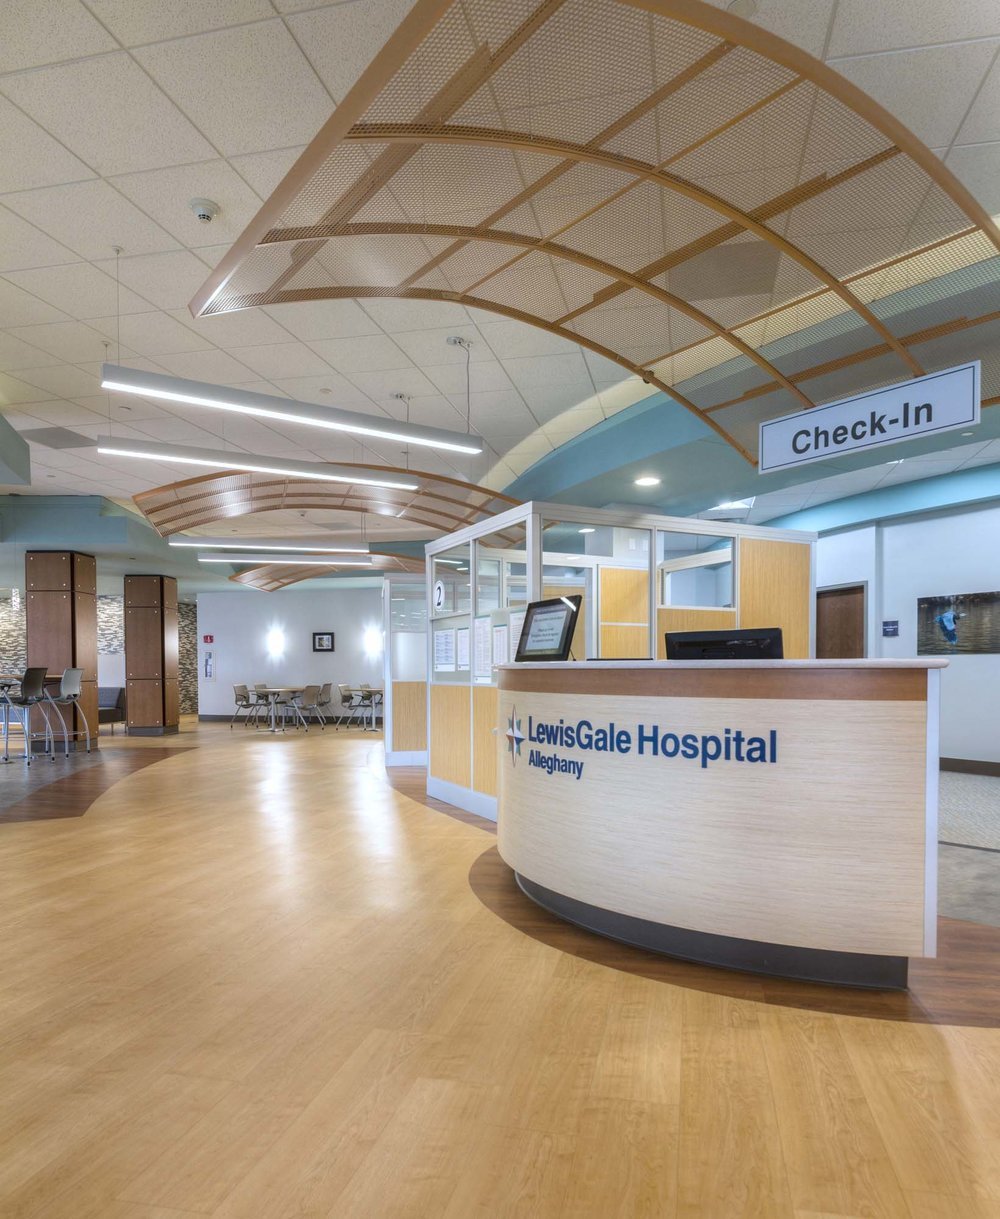
2. Commercial Spaces
For office buildings, retail stores, or other commercial spaces, a smooth and professional-looking finish is crucial. Level 5 plastering creates a clean and polished environment that enhances the overall aesthetic of the space.
3. High Lighting Areas
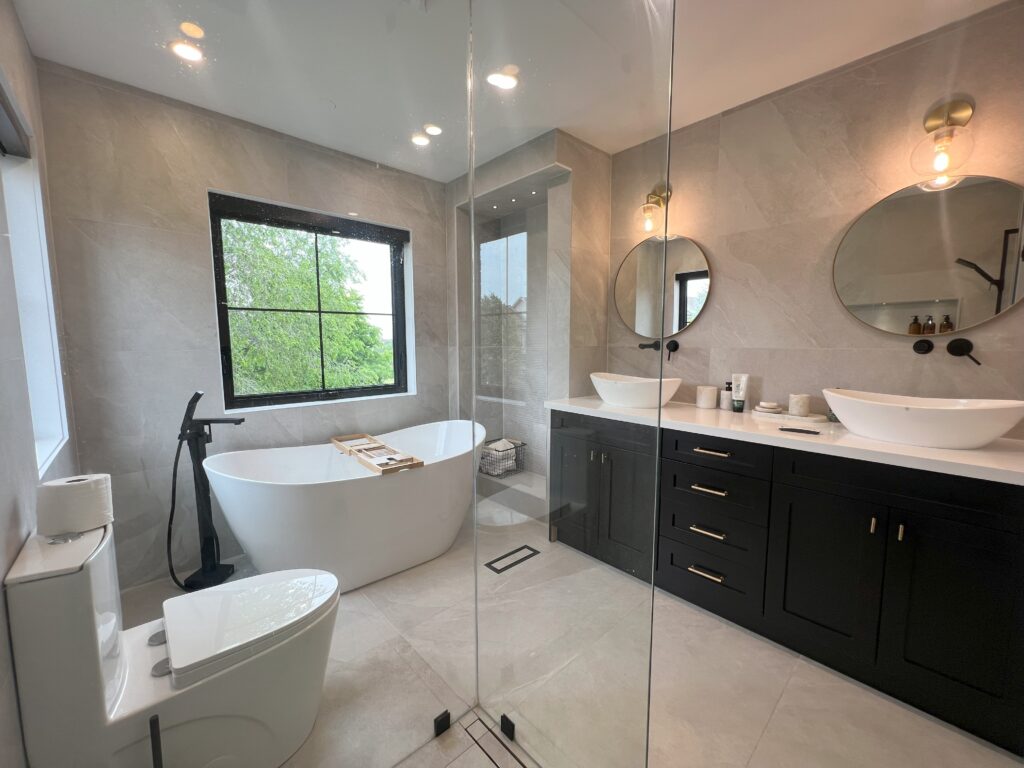
Rooms or areas that are well-lit, such as kitchens and bathrooms, often benefit from Level 5 plastering. The smooth surface helps reduce the appearance of shadows or imperfections under harsh lighting conditions.
4. Areas with High Traffic
Spaces that experience a lot of wear and tear, such as hallways, staircases, or living areas, can benefit from the durability of a Level 5 plaster finish. The technique ensures that the walls stay smooth and intact for years to come.
Cost of Level 5 Plastering
The cost of Level 5 plastering can vary based on several factors, including the size of the space, the condition of the walls, and the complexity of the project. On average, homeowners in Toronto and the GTA can expect to pay between $3 to $6 per square foot for Level 5 plastering.
| Service | Average Cost |
|---|---|
| Level 5 Plastering (Per Square Foot) | $3 – $6 |
| Cost for Luxury Homes | Higher rates may apply |
| Cost for Commercial Spaces | Custom pricing |
It’s important to get multiple quotes from licensed contractors who specialize in Level 5 plastering to ensure you’re receiving a competitive price. The investment in this high-end technique will pay off in the long run with its durability and aesthetic appeal.
Finding a Skilled Level 5 Plastering Contractor in Toronto
Choosing the right contractor for your Level 5 plastering project is essential. Here are a few tips for finding a skilled professional:
- Experience Matters: Look for contractors with a proven track record in Level 5 plastering. Ask to see examples of their previous work to assess the quality of their finish.
- Read Reviews: Check online reviews and testimonials to gauge customer satisfaction and the contractor’s attention to detail.
- Get Multiple Quotes: Always get several quotes from different contractors to compare prices and services.
- Verify Credentials: Ensure that the contractor is licensed, insured, and bonded to protect yourself and your property.
- Ask for References: Request references from previous clients who have had Level 5 plastering done to assess the quality of the work.
Conclusion
Level 5 plastering is the gold standard in drywall finishing. If you’re aiming for flawless walls and ceilings in your renovation project, it’s definitely worth considering. This high-end technique provides a smooth, durable, and visually stunning finish that’s ideal for luxury homes, commercial spaces, and areas with high lighting.
By understanding the process and benefits of Level 5 plastering, you can make an informed decision for your next renovation project. Whether you’re updating your kitchen, bathroom, or commercial space, this professional technique will elevate the overall look of your property, adding both value and aesthetic appeal.
If you’re looking for Level 5 plastering in Toronto or the Greater Toronto Area, reach out to expert contractors who can deliver top-tier results. GMC Construction Inc. specializes in delivering high-quality plastering and renovation services, ensuring your space achieves the perfect finish every time.

Looking to get a quote on your next home renovation project?
Call us todat at 6474504466 to start a free consultation
✓ Trusted quality
✓ professionalism
✓ Strong Reputation
Experience excellence with Toronto’s top general contractor for quality and professionalism .
Get in touch
We’re here to answer your questions.
Have a Questions? Call us:
+16474504466
Or Email us at:
info@gmco.ca
Canada
75 Oneida Crescent , Richmond Hill
ON, L4B 0H3
Looking to get a quote?
Latest Posts
The latest stories, exclusive insights, and special offers.

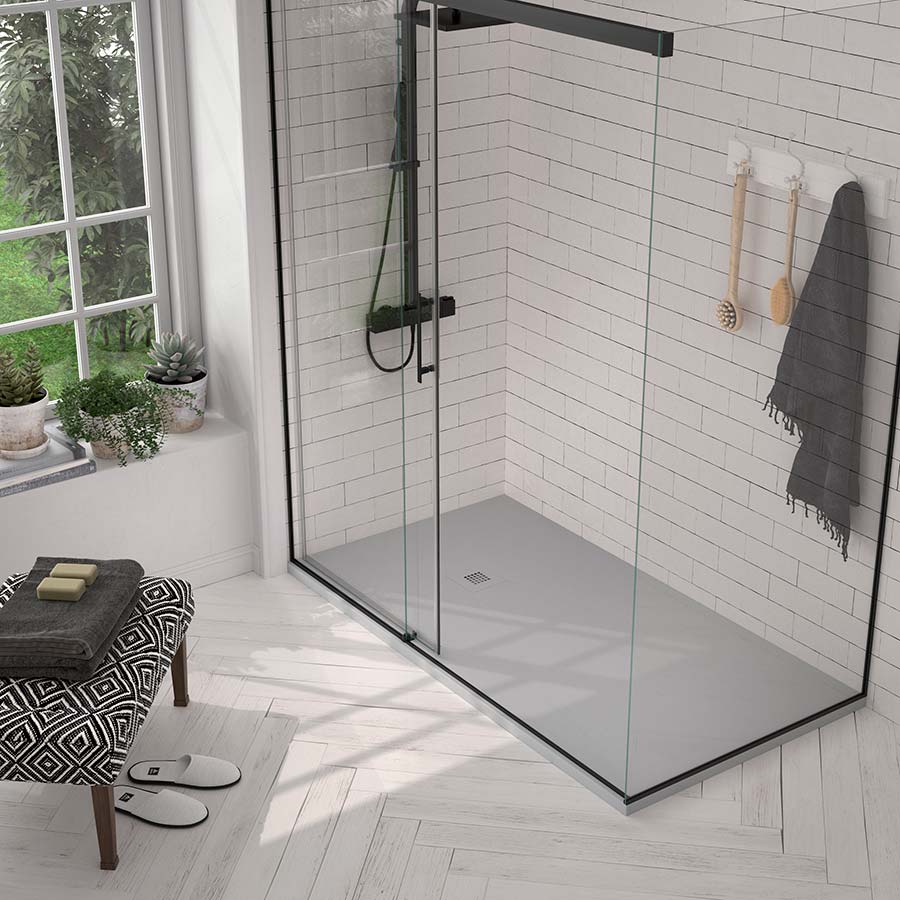
The Complete Guide to Shower Pans: Types, Installation, and Maintenance Tips

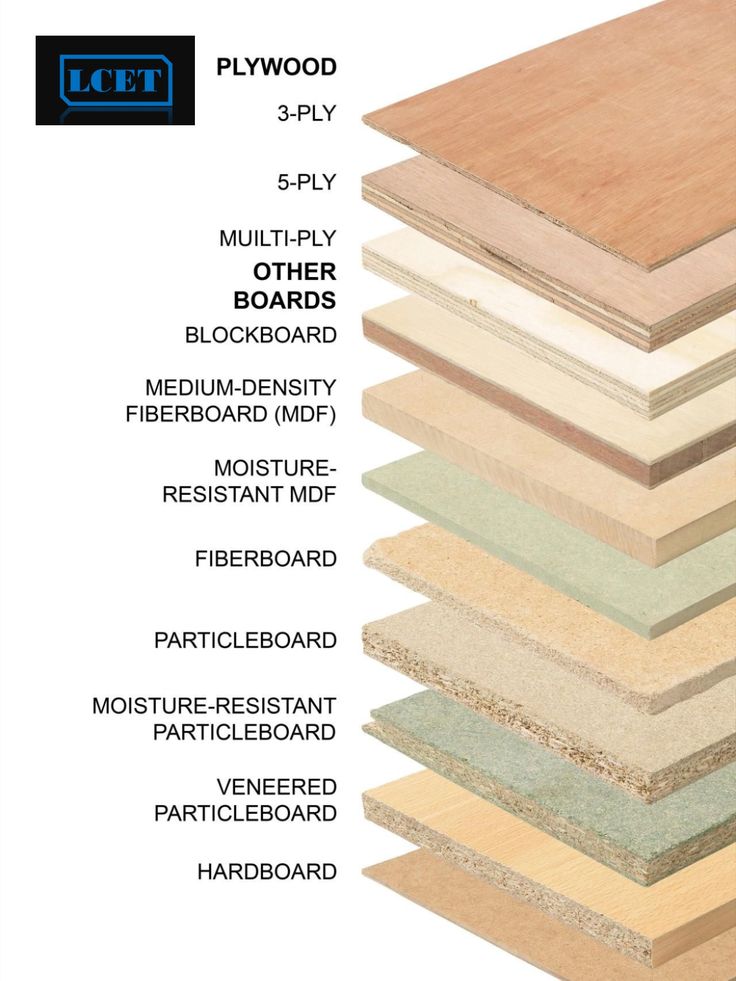
The Ultimate Guide 2025 to Different Types of Plywood: Uses, Benefits, and Choosing the Right One

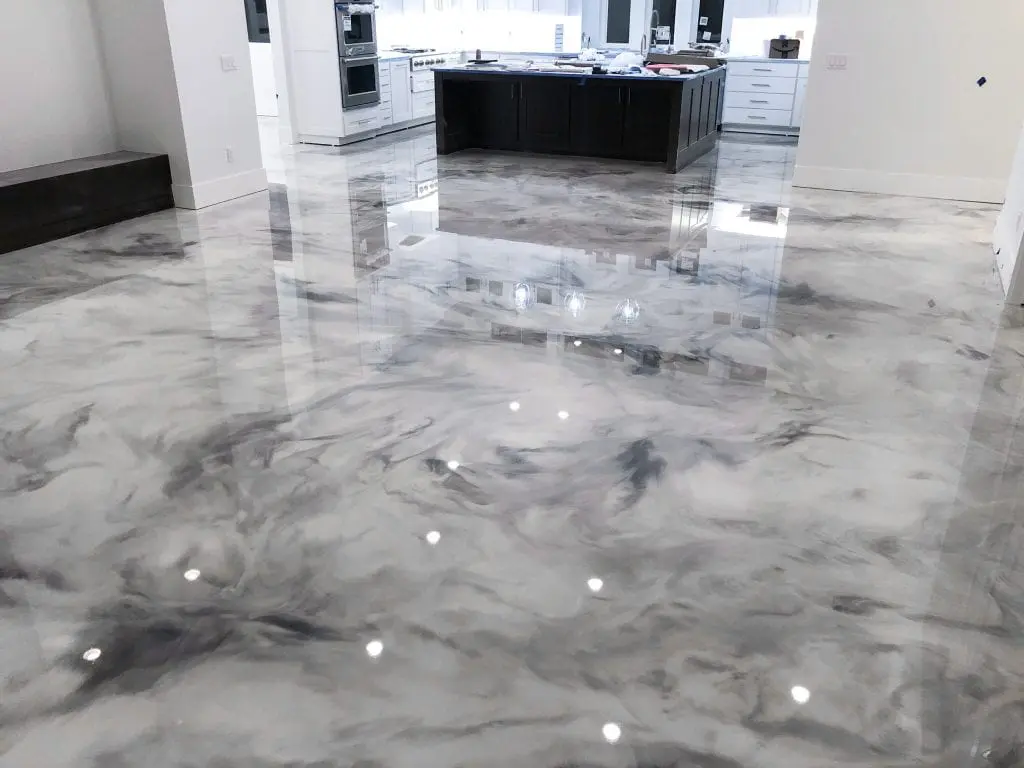
The Ultimate Guide to Epoxy Flooring: Benefits, Applications, and Installation

The Ultimate Guide to Level 5 Plastering: What You Need to Know
Get in touch
We’re here to answer your questions.
Have a Questions? Call us:
+16474504466
Or Email us at:
info@gmco.ca
Canada
75 Oneida Crescent , Richmond Hill
ON, L4B 0H3
Looking to get a quote?
Have Questions?
Frequently Asked Questions
Top General Contractor For Home Renovations, Kitchen Remodeling, Bathroom Renovations, and Basement Finishing
What renovation services does GMC Construction Inc. provide in the Greater Toronto Area (GTA)?
GMC Construction Inc. offers a full range of renovation services, including kitchen remodeling, bathroom renovations, basement finishing, and commercial renovation projects. Serving Toronto, Richmond Hill, Markham, Mississauga, Brampton, Ajax, and surrounding areas, we are your go-to contractor for all home and commercial improvement needs.
How does GMC Construction Inc. ensure high-quality workmanship in its renovation projects?
At GMC Construction Inc., we prioritize quality by using premium materials and employing skilled tradespeople who adhere to the highest industry standards. Our team manages every detail, from design to completion, ensuring your renovation meets your expectations for durability and aesthetic appeal.
How long does a typical kitchen or bathroom renovation take with GMC Construction Inc.?
The timeline for a kitchen or bathroom renovation with GMC Construction Inc. varies depending on the project’s scope. However, most renovations are completed within 4 to 8 weeks. We provide a detailed schedule during your initial consultation to ensure transparency and keep your project on track.
Is GMC Construction Inc. licensed and insured to perform renovations in Toronto and the GTA?
Yes, GMC Construction Inc. is fully licensed and insured to perform renovations in Toronto and throughout the GTA. Our contractor liability insurance covers up to 5 million dollars, providing peace of mind for our clients as we handle both residential and commercial projects.
How do I get a free estimate for my home renovation with GMC Construction Inc.?
To get a free estimate, simply contact GMC Construction Inc. through our website or by calling us at 647-450-4466. We’ll arrange a consultation to discuss your renovation needs, whether it’s for a kitchen remodel, bathroom upgrade, or basement finishing, and provide a detailed, no-obligation quote.
What post-renovation support does GMC Construction Inc. offer?
GMC Construction Inc. stands by its work with robust post-renovation support, including a comprehensive warranty and a commitment to address any issues that arise within the first year. Our team ensures your satisfaction long after the renovation is complete.