
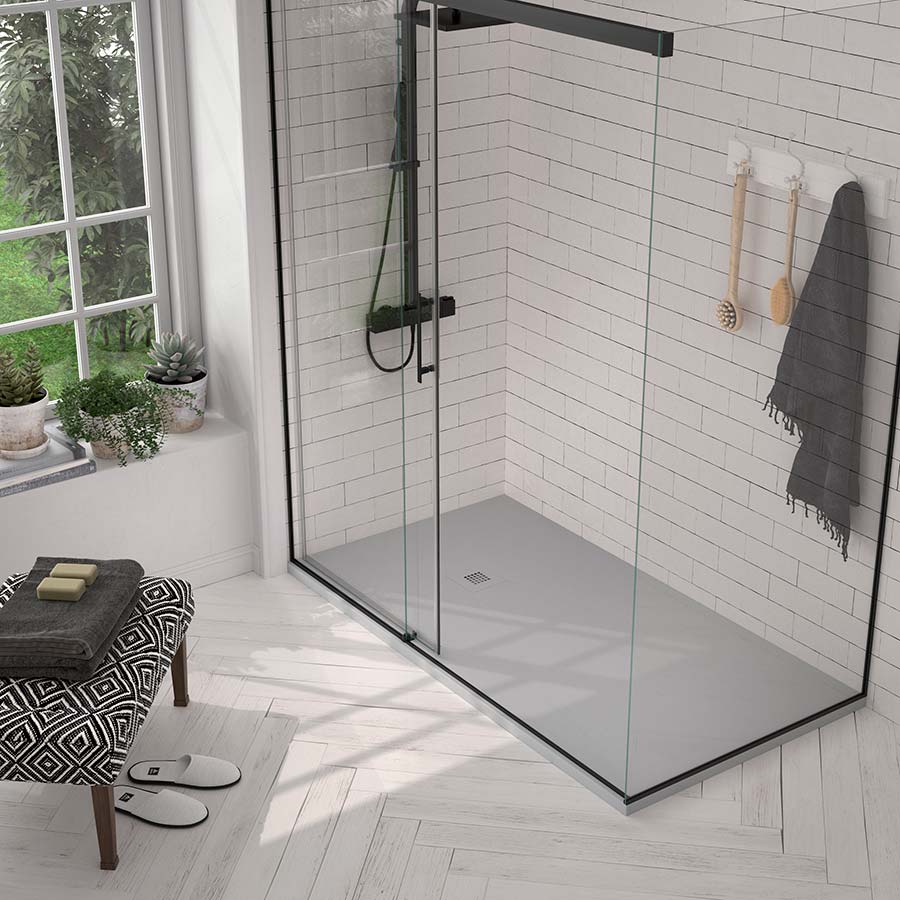
The shower pan is the assembly at the base of a shower that directs water to the drain and protects the structure below. A reliable installation depends on more than the visible surface: the subfloor, slope, drain connection, waterproofing, curb or entry transition, and wall-to-floor details must work together.
What Is a Shower Pan?
The term “shower pan” may refer to a preformed base or to a site-built sloped and waterproofed assembly under tile. In both cases, the pan must collect water, move it toward the drain, and connect to the surrounding waterproofing.
The finished tile or manufactured surface is not the only water-control layer. Drain integration and concealed waterproofing are critical to long-term performance.
Main Types of Shower Pans
| Shower Pan Type | Main Characteristics | Advantages | Limitations |
|---|---|---|---|
| Acrylic | Preformed, non-porous base in standard shapes and drain locations | Lightweight, smooth, and straightforward to clean | Can scratch; exact fit and support are important |
| Fibreglass | Lightweight moulded base | Practical for standard layouts and easier handling | Surface may wear, flex, scratch, or discolour over time |
| Composite or solid-surface | Manufactured base with a denser finished surface | Durable appearance and several texture options | Heavy; dimensions and drain location must be confirmed |
| Tiled shower pan | Site-built or prefabricated sloped base finished with tile | Flexible size, shape, drain, and design options | Waterproofing and tile details require precise installation |
| Natural-stone pan | Custom or manufactured stone base | Distinctive appearance and durable material | Weight, sealing, slip resistance, and maintenance need review |
| Custom mortar-bed pan | Sloped assembly formed on site | Adapts to unusual dimensions and drain locations | Requires skilled forming, waterproofing, and drain coordination |
How to Choose the Right Shower Pan
Size and layout
Measure the finished shower opening, wall positions, door or glass configuration, and drain location. A preformed pan must fit the framing and plumbing accurately; a custom pan offers more flexibility but adds site-built details.
Entry type
A curbed pan is easier to contain within a defined shower footprint. A curbless pan creates a level entry but affects floor elevation, framing, drainage, waterproofing, and splash control beyond the shower.
Drain position
Centre, offset, and linear drains create different slope and tile conditions. Confirm the drain before framing and plumbing rough-ins are finalized.
Surface and traction
The shower floor should be comfortable and provide appropriate traction when wet. Texture, grout joints, cleaning products, and maintenance all affect performance.
Maintenance
Manufactured pans have fewer grout joints. Tiled and stone pans provide more design flexibility but require compatible cleaning, grout care, sealant inspection, and possible sealing depending on the material.
Components of a Reliable Shower-Pan Assembly
Stable subfloor
The substrate must be sound, adequately supported, clean, and prepared for the selected system. Movement can damage tile, drains, and waterproofing.
Consistent slope
The floor must direct water to the drain without low spots. The slope should be built into the appropriate layer of the assembly, not improvised with the finished tile.
Compatible waterproofing
Use a complete system with compatible membrane, corners, bands, collars, sealants, and setting materials. Do not mix components unless compatibility is confirmed.
Proper drain connection
The drain and waterproofing must be designed to connect. A well-coated floor can still leak if the drain transition is incomplete.
Detailed transitions
Curbs, curbless entries, benches, niches, corners, and wall-to-floor connections are common risk areas. Each transition needs the system’s prescribed detail.
Shower Pan Installation Overview
1. Confirm the design
Verify finished dimensions, drain type, entry, glass, tile, wall system, and required floor height.
2. Prepare the structure and plumbing
Repair or reinforce the subfloor as required and position the drain accurately. Confirm access and support before closing the assembly.
3. Set or form the pan
Install the manufactured base in its required support material, or create the site-built slope according to the selected system.
4. Complete the waterproofing
Connect the pan to the walls, curb or entry, corners, penetrations, and drain. Protect the membrane from damage.
5. Test before finishing
Check the assembly for leaks where testing is required and appropriate. Confirm that water drains without pooling.
6. Install finishes and glass
Use compatible setting materials, grout, sealants, and hardware. Avoid unnecessary penetrations through waterproofed horizontal surfaces.
Common Installation Problems
- an uneven or flexible subfloor
- a pan that is not fully supported
- incorrect drain alignment
- inadequate or inconsistent slope
- low spots that hold water
- incomplete membrane seams or corners
- fasteners through vulnerable waterproofing areas
- incompatible drain and membrane components; and
- glass hardware installed without a waterproofing plan.
Shower Pan Maintenance
- Clean with products approved for the surface.
- Avoid abrasive tools that can scratch acrylic, fibreglass, or stone.
- Remove hair and debris from the drain regularly.
- Inspect sealant joints and transitions for separation.
- Watch for persistent pooling, loose tile, cracked grout, staining, or musty odours.
- Follow sealing requirements for natural stone and applicable grout.
- Address movement or leaks promptly rather than covering them with surface sealant.
Repair or Replace?
Surface scratches or minor finish damage may be repairable on some manufactured pans. Movement, recurring cracks, failed drain connections, widespread loose tile, or concealed waterproofing failure may require removal and reconstruction.
Determine the cause before choosing a repair. A cosmetic patch will not correct structural movement or a failed waterproof assembly.
Bathroom Budget Next Step
Pan type, drain, structural preparation, waterproofing, tile, glass, and accessibility details affect the broader renovation scope. For budget planning, continue to Bathroom Renovation Cost in Toronto & the GTA instead of using this technical guide as a cost page.
GMC Construction coordinates shower pans, waterproofing, tile, plumbing, and glass as part of bathroom renovations. To discuss the right shower base for your project, call 647-450-4466.
Ready to turn this into a real project?
Take what you just read and connect it to our bathroom renovation service — we’ll scope project type, location, timing and budget so you get an accurate quote.
Get a free estimate for your project
Tell us what you're planning and our team will get back to you within 24–48 hours. No obligation.