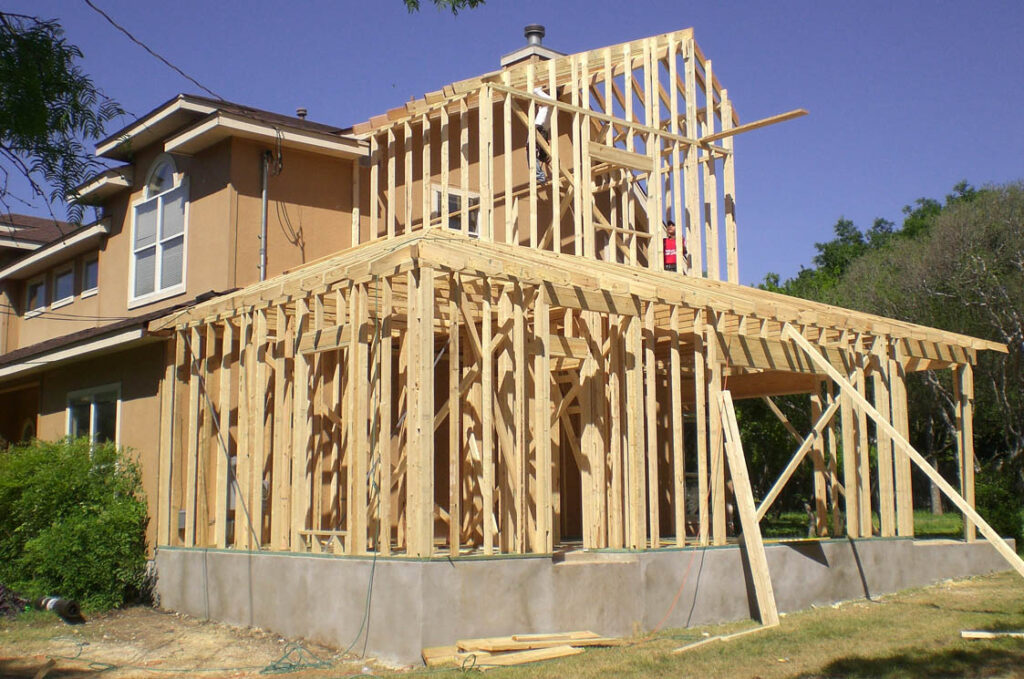
Framing a wall is one of the most fundamental skills in home construction and renovation. Whether you’re adding a new room, building a partition, or tackling a remodeling project, knowing how to frame a wall is an essential DIY skill. In this step-by-step guide, we’ll walk you through the basics of framing a wall, from planning to execution, with expert tips from GMC Construction, your trusted local contractor in Richmond Hill and the Greater Toronto Area (GTA).
Why Frame a Wall?
Framing a wall is the skeleton of a building. It supports the structure, holds up the roof, and provides space for electrical wiring, plumbing, insulation, and drywall. You might want to frame a wall for several reasons:
- Room Addition: Adding a new room or office space.
- Renovations: Creating or changing room layouts.
- Partition Walls: Dividing large spaces into smaller ones.
- Garage or Basement Framing: Adding walls to unfinished areas.
Tools and Materials You Will Need
Before diving into the wall framing process, make sure you have all the tools and materials necessary to complete the job:
Tools:
- Tape Measure: To measure lengths accurately.
- Circular Saw: For cutting the wood studs and plates.
- Hammer or Nail Gun: For driving nails into the wood.
- Level: To make sure everything is aligned correctly.
- Square: Ensures your corners are perfectly 90 degrees.
- Pencil: For marking measurements.
- Wood Screws or Nails: To hold the frame together.
- Stud Finder: For locating wall studs when framing within an existing structure.
- Lumber: For framing materials (typically 2×4 studs, pressure-treated lumber for bottom plates, and non-treated lumber for the top plate).
- Shims: To ensure that the frame is level and plumb.
Materials:
- 2×4 Lumber: The most common framing lumber for interior walls.
- Nails or Screws: To assemble the studs, plates, and headers.
- Wall Insulation: If you’re insulating the wall.
- Drywall: For the finishing touch.
- Flooring Material: If applicable for the area you’re working on (e.g., subflooring).
Step-by-Step Guide to Framing a Wall
Step 1: Measure and Mark Your Wall’s Location
Start by determining where your new wall will go. Use a tape measure to measure the length of the wall and mark the position on the floor and ceiling. Use a chalk line to snap a straight line on the floor and ceiling as a guide for your wall. This will ensure the wall is perfectly aligned.
Tip: If you’re framing in an existing room, use a stud finder to locate existing studs in the wall. If your new wall is going to intersect with these, you’ll need to frame your new wall to align with them.
Step 2: Cut and Prepare the Plates
The plates are the horizontal pieces that run along the top and bottom of the wall. You’ll need to cut two pieces of 2×4 lumber to the length of your wall, one for the top plate and one for the bottom plate. Make sure both pieces are the exact length and straight.
- Bottom Plate: This plate sits on the floor and is typically treated with a preservative to prevent rot if you’re working in a damp area (like a basement).
- Top Plate: This plate runs along the ceiling and is attached to the framing or joists.
Tip: Be sure to mark your plates with stud locations. Most studs are placed 16 inches apart on center, though this can vary based on building codes or structural requirements.
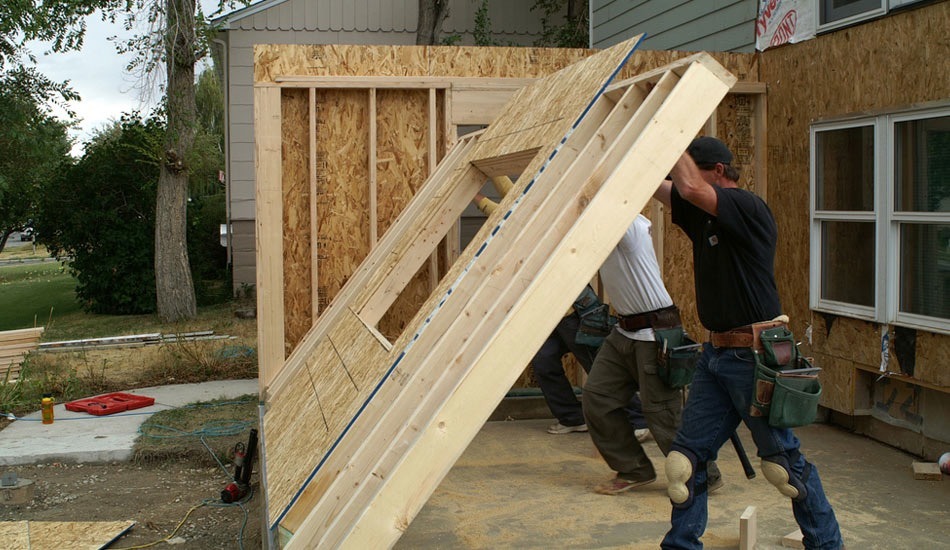
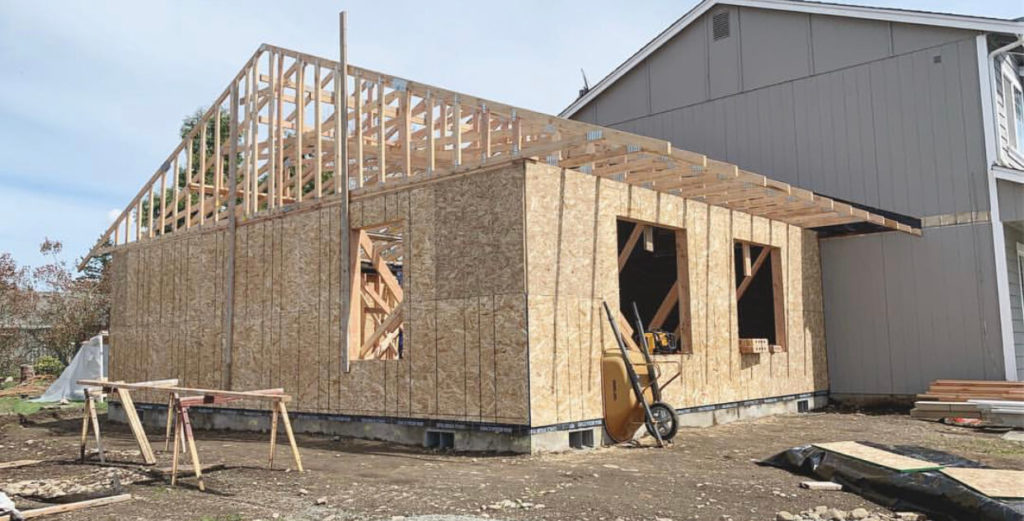
Step 3: Cut and Install the Studs
The vertical studs are the backbone of the wall, providing structural support. Cut your studs to the height of the wall, from the bottom plate to the top plate. The length will depend on your room height, typically around 8 feet.
Once you’ve cut the studs, begin attaching them between the top and bottom plates. Space them 16 inches apart (measured from center to center). Use a square to ensure each stud is perpendicular to the plates and a level to ensure the studs are plumb (perfectly vertical). Fasten each stud in place with nails or screws.
Tip: When framing a wall, always start with the corner studs and work your way to the center. This method ensures your wall will stay square and sturdy.
Step 4: Add the Door or Window Frame (If Applicable)
If your wall includes a door or window opening, you’ll need to install additional framing for the header and the sill plate.
- Header: A horizontal beam that rests on top of the door or window frame. This is essential for transferring weight and load from above to the studs.
- King Studs: These are the vertical studs that sit on either side of the header.
- Cripple Studs: These fill in the space between the header and the top plate, completing the frame around the opening.
Measure the size of the door or window and cut the header to fit. Install the king studs first, followed by the header, and then the cripple studs.
Step 5: Secure the Wall to the Floor and Ceiling
Once the wall frame is complete, it’s time to secure it in place. If you’re framing an interior wall, you’ll need to attach it to the ceiling joists and floor:
- Ceiling: Use screws or nails to secure the top plate to the ceiling joists. Make sure the top plate is aligned with the ceiling structure, using your level for precision.
- Floor: Attach the bottom plate to the floor using nails or screws. For a concrete floor, use concrete nails or an appropriate adhesive.
Tip: If you’re framing a non-load-bearing wall, it’s not necessary to attach the wall to the studs of the existing structure. However, for a load-bearing wall, make sure everything is securely anchored to the framing and structural elements of the building.
Step 6: Double-Check for Plumb and Square
Before securing everything completely, double-check that the wall is plumb (vertically level) and square (right angles at the corners). Use a plumb line or level to make sure the studs are straight and even.
Finishing Touches
Once the frame is installed and everything is secured, it’s time to finish up the project:
- Insulate the Wall: If you’re building a partition wall, you might want to add insulation between the studs for soundproofing or thermal insulation.
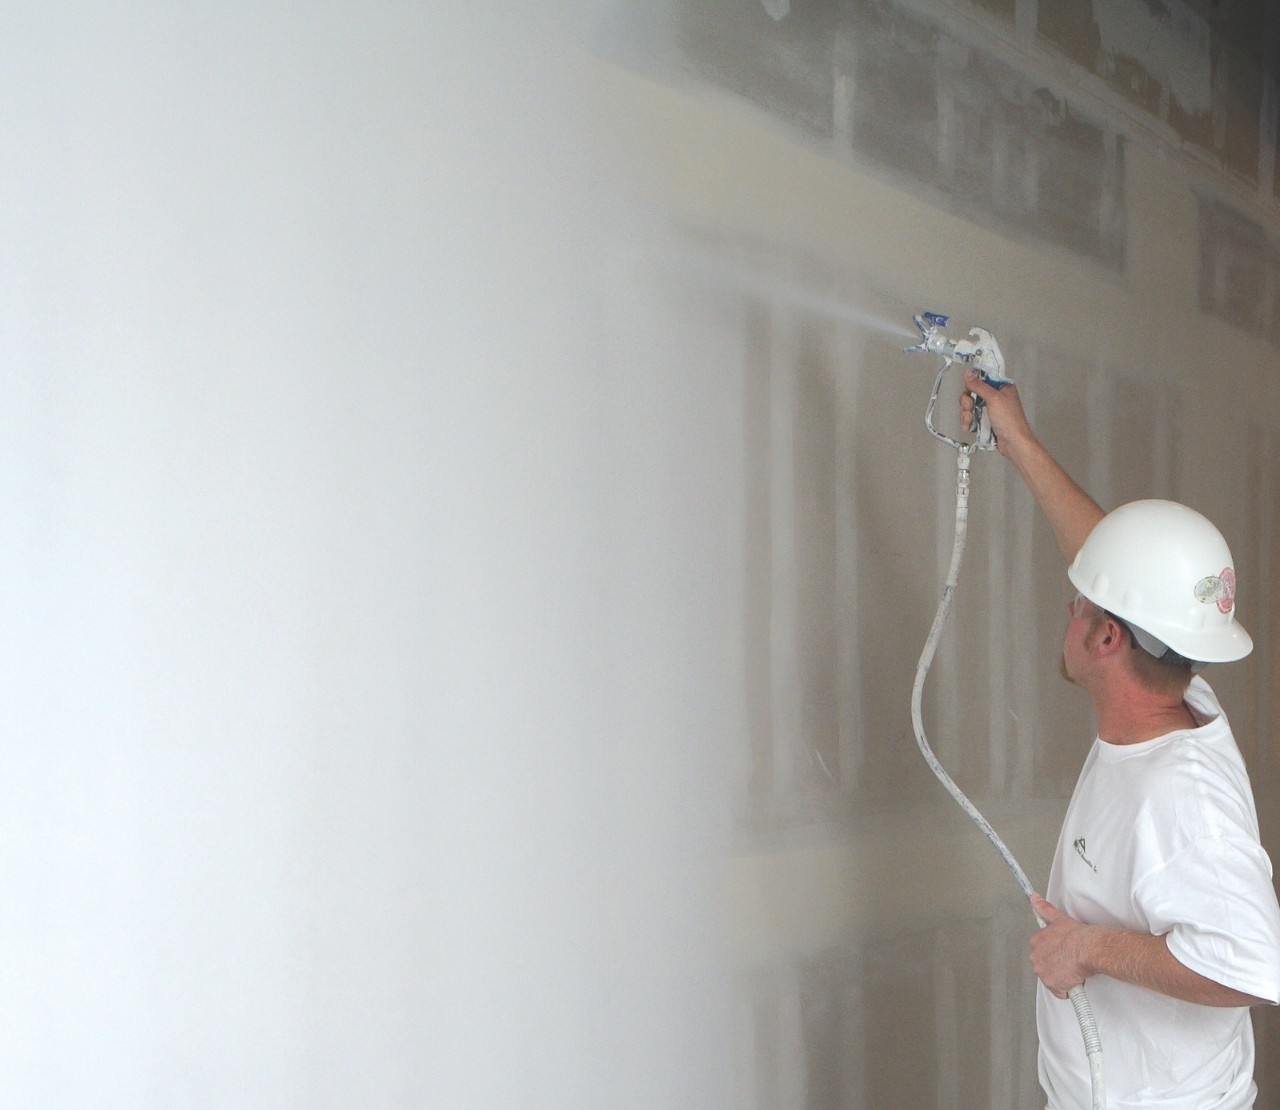
- Drywalling: Now that the frame is up, you can install drywall or other finishing materials.
- Electrical or Plumbing: If the wall is being framed to add electrical outlets or plumbing, this would be the time to run your wires or pipes.
When to Call a Professional Contractor
While DIY wall framing can be a great project, it’s important to know when to call in the professionals. If you’re framing a load-bearing wall, or if you’re not sure about the structural integrity of the wall, it’s wise to contact a professional general contractor in Richmond Hill.
At GMC Construction, we specialize in home renovations in the Greater Toronto Area. Our team of experienced contractors can help with framing, drywall installation, and a variety of other construction services, ensuring your project is done correctly and safely.
Conclusion
Framing a wall is a satisfying DIY project that adds value to your home and creates new living spaces. By following these steps and using the right tools, you can build a strong and durable wall for your next project. However, for larger or more complex framing jobs, don’t hesitate to call a trusted local contractor like GMC Construction.
For expert framing, renovations, or any construction needs, reach out to GMC Construction, your reliable general contractor in Richmond Hill and the GTA. We are here to help make your home improvement dreams a reality!
Related Keywords Used:
GTA contractors
DIY wall framing
General contractor in Richmond Hill
Home renovation
Local contractor
Framing a wall
Wall framing tips
Latest Posts
The latest stories, exclusive insights, and special offers.

The Complete Guide to Shower Pans: Types, Installation, and Maintenance Tips

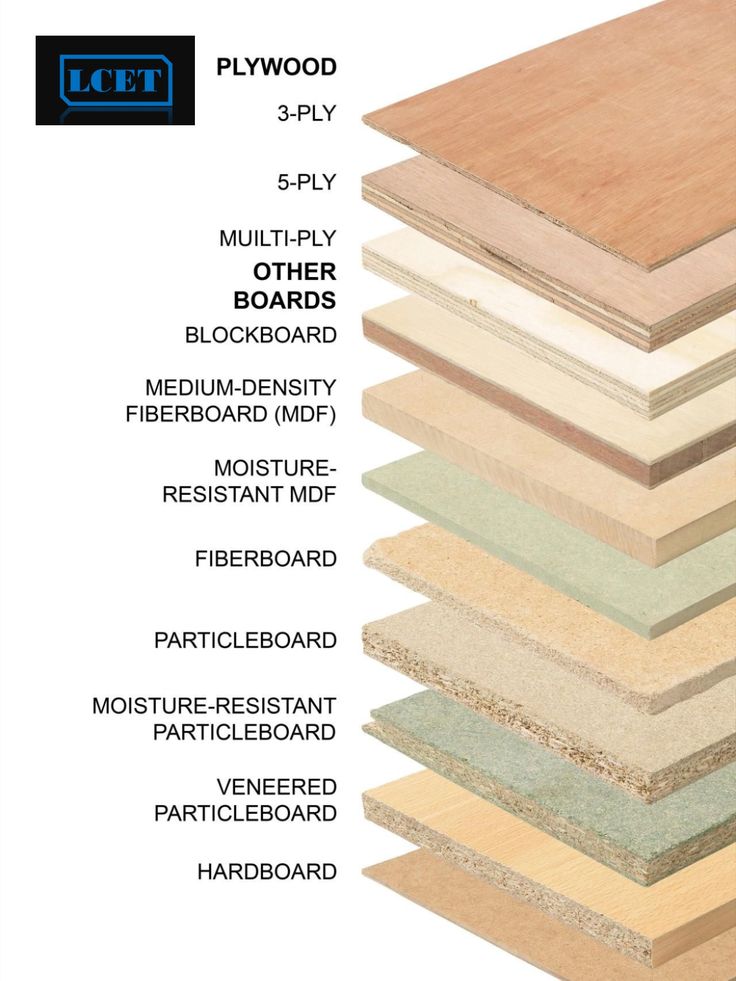
The Ultimate Guide 2025 to Different Types of Plywood: Uses, Benefits, and Choosing the Right One

The Ultimate Guide to Epoxy Flooring: Benefits, Applications, and Installation

The Ultimate Guide to Level 5 Plastering: What You Need to Know

Looking to get a quote on your next home renovation project?
Call us todat at 6474504466 to start a free consultation
Get in touch
We’re here to answer your questions.
Have a Questions? Call us:
+16474504466
Or Email us at:
info@gmco.ca
Canada
75 Oneida Crescent , Richmond Hill
ON, L4B 0H3
Looking to get a quote?
✓ Trusted quality
✓ professionalism
✓ Strong Reputation
Experience excellence with Toronto’s top general contractor for quality and professionalism .


Looking to get a quote on your next home renovation project?
Call us todat at 6474504466 to start a free consultation